Setting Up Vend
0.6 min read
|
Required parameters
- Vend URL
- URL Format: https://<store_name>.vendhq.com
- Access Token
Step-by-step guide
- First, obtain your Vend URL and Access Token.
- Log into your Vend Admin panel. Then, go to Setup > Personal Tokens page to create Personal Token for Extensiv Integration Manager.
- Type in Token Name and enable No Expiry. Then click on Save button to generate Access Token.
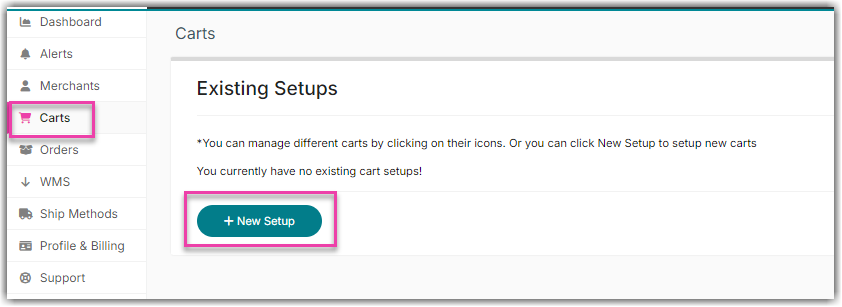
- Launch Integration Management from Extensiv Hub.
- Click on Carts. Then, click on +New Setup.
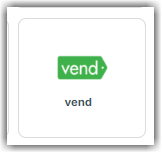
- Select Vend from the list.
- Complete the setup by entering the URL and access token, as shown below
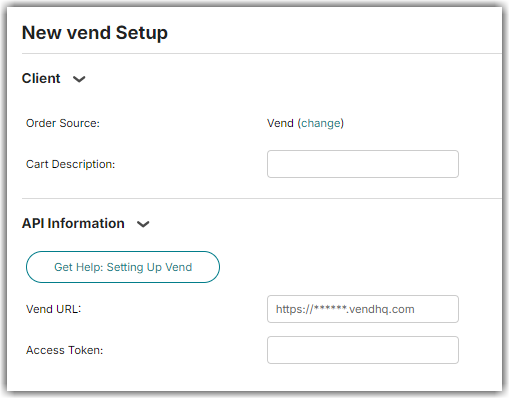
- Click Test to confirm successful connection. Click OK once done.
Please keep in mind that the Vend cart in Integration Manager requires a unique access token.
Cart settings
Required Outlet Name
Integration Manager will only sync orders and inventory with the given Outlet in Vend. Please go to your Vend Setting page, then click on Outlets and Registers to obtain your Outlet list.
To load orders from multiple Vend Outlets, you will need to setup each Outlet as a unique cart in Integration Manager, and create a new Vend Access Token for each one.