Setting Up PrestaShop
0.8 min read
|PrestaShop offers both self-hosted and cloud hosted versions. When using self-hosted, the client is expected to keep their server and application in proper working order. If you do not have the resources or contacts to do so, we recommended using a cloud hosted shopping cart service.
Integration Specs:
Supported functions:
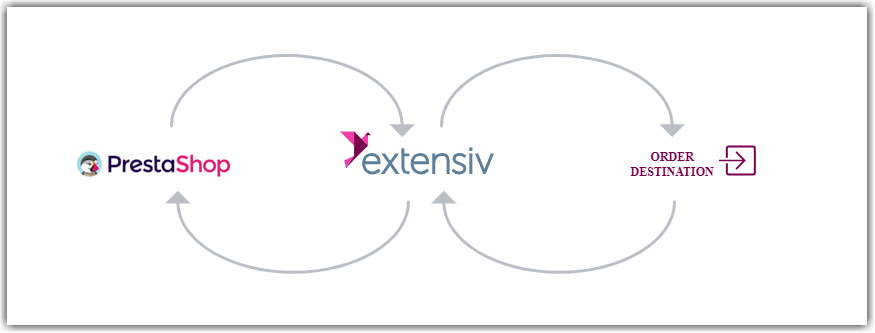
- Order Download
- Inventory Sync
- Shipment Confirmation
Workflow
- Sales Order Download from PrestaShop to Integration Manager
- Sales Order Delivery from Integration Manager to WMS/OMS
- Shipment Tracking from WMS/OMS to Integration Manager
- Shipment Tracking from Integration Manager to PrestaShop
Required parameters
- Store URL Address
- API Key
Step-by-step guide
- To find your API Key and Password, go to the Advanced Parameters tab on the left-hand navigation menu in PrestaShop and then, click Webservice.
- Click Add new webservice key in the upper right.
- Click Generate!
- Enter a description like: Extensiv Integration Manager.
- For quick setup: click the top row of checkboxes for View(GET) and Modify(PUT).
For more security, click the following boxes instead:
For the View column, select addresses, carriers, carts, categories, combinations, configurations. contacts, currencies, countries, customer_messages, customer_threads, customers, deliveries, all fields starting with order_, orders, all fields starting with product_, products, shops, states, all fields starting with stock_, stocks, tax_rule_groups, tax_rules, taxes, warehouses, weight_ranges, zones.
For the Modify column select: order_details, orders, products, stock_availables
6. Click Save at the bottom right.
7. Enter the API Key and your store URL into Integration Manager.
8. Make sure the Enabled Web Service box is set to Yes.