Setting Up ChannelAdvisor
0.9 min read
|Integration Specs:
Supported functions
- Order Download
- Shipment Confirmation - Detailed
- Inventory Sync
Workflow
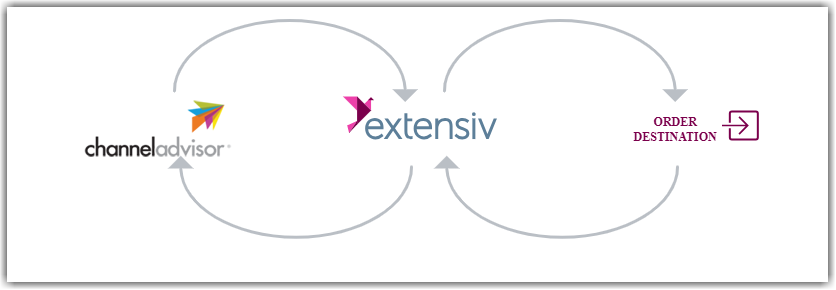
- Sales Order Download from ChannelAdvisor to Integration Manager
- Sales Order Delivery from Integration Manager to WMS/OMS
- Shipment Tracking from WMS/OMS to Integration Manager
- Shipment Tracking from Integration Manager to ChannelAdvisor
Required parameters
- ChannelAdvisor Admin Username
- ChannelAdvisor Admin Password
Step-by-step guide
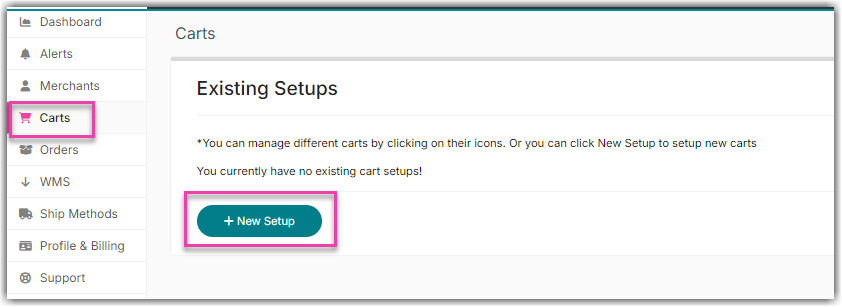
- Go to the Carts tab of Extensiv Integration Management.
- Click on + New Setup, then select ChannelAdvisor.

-
Click the Grant Us API Access button.
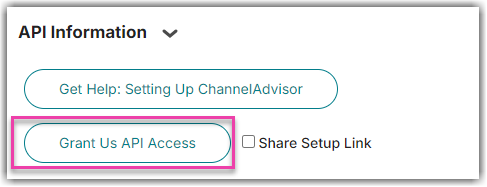
If you don't have login access, click Share Setup Link, enter the client's email, and click Save. The client will receive a setup email. Open Cart Setup Share for the steps to follow.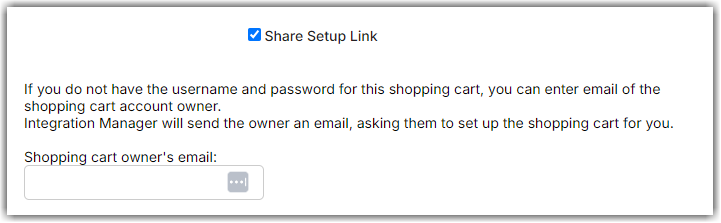
A new window will pop up and prompt the user to log in using their ChannelAdvisor Admin Username and Password. - Please follow the dialogue to authorize Extensiv Integration Management to act on behalf of your ChannelAdvisor account. Once completed, return to the Integration Management window which will show the status of authorization.
- Complete the remaining cart settings on the page. Click the Test button to ensure everything is correct.
- Click the OK button to save cart information.
Cart Settings
Required Distribution Center Code
- Go to Inventory > Setting > Distribution Centers(DC), and find the distribution center code that you want to use. Orders or items from different distribution centers will be ignored by the Integration Management.
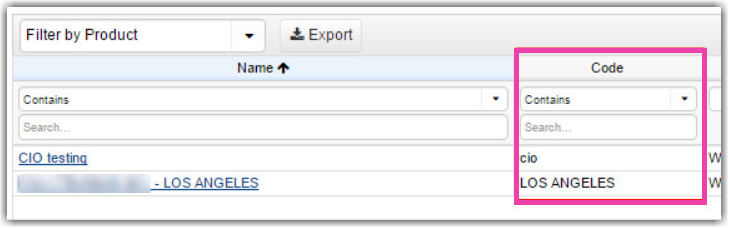
- Copy the Distribution Center code, and paste it into Integration Management. Then, click the OK button to save the setting.
Integration Management only pulls orders that have ‘Cleared’ payment status and the ‘Completed’ checkout status.