Setting Up Shopify
0.9 min read
|Required parameters
Credentials from Shopify that need to be entered in Extensiv Integration Manager. The setup guide below will explain how to obtain these:
- Store Name or Shop URL
URL Format: https://.myshopify.com/
- Shopify Username
- Shopify Password
Step-by-step guide
- Launch Integration Management from Extensiv Hub.
- Navigate to Carts and click +New Setup.
- Select Shopify from the list of carts.
- Enter your Shopify Store Name or URL into Integration Manager
- Click Grant Us API Access in Integration Management.
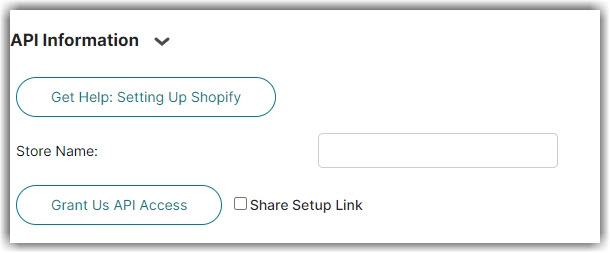
If you don't have login access yourself, Instead click Share Setup Link, enter the client's email and click Save. They will receive a setup email. Instructions for client to follow: Cart Setup Share
3. Login to Shopify if requested.
4. Click Install app towards the bottom of the Shopify page. This page lists what permissions the Integration Manager app requires.
5. You will be taken back to Integration Management. After a few seconds you should see Successful Authorization display on the screen.
6. Scroll to the bottom and Test the connection.
7. Click OK to save the connection.
For mapping questions, please reach out to your Customer Success Manager or Support member.
Inventory location name
If you have a multi-warehouse setup in Shopify, you must specify the location name that you would like Integration Manager to sync inventory and confirm orders to. The Location name is found in Shopify under Settings → Locations as shown in the screenshot below. Please enter the location name on the Integration Manager Shopify cart > Edit Cart setup > Inventory Location Name.
Shopify Setting Options
Read our article on various Shopify options in Shopify Settings.