Setting Up Warehouses in DSCO
0.9 min read
|Overview
This article provides a guide on how to set up warehouses in DSCO.
- You will need to set up your warehouses in DSCO. You can do that using the Warehouse Management tool provided in the DSCO web portal. Their documentation for adding and editing warehouses can be found here.
- Once the warehouses have been created in DSCO, you must add their Warehouse Code to Extensiv Integration Managment. The code can be found in DSCO under the Warehouse Manager tool.
Step-by-step guide
1. Go to Merchants on the left navigation menu.
2. Select Locations & Products. 3. 3. Select the correct warehouse you wish to edit from the warehouse displayed below and click Edit Warehouse.
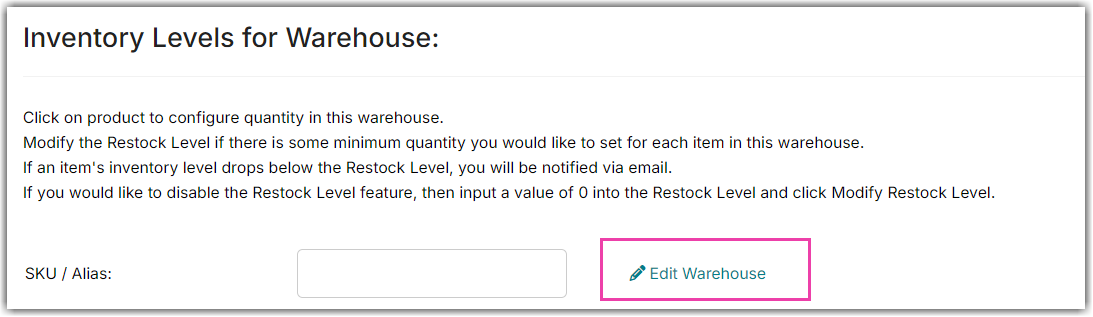
4. In the Edit Warehouse screen you'll want to select Add Address which will open up a menu to add address data to this warehouse. Enter the Warehouse Code for your DSCO warehouse in the Address Location Number field.
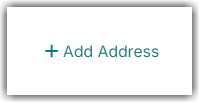
For DSCO connections, the only field needed is the Address Location Number but you are welcome to fill out the remaining data fields as they may be useful for other connections. Click Add Address at the bottom of the form after filling in the information.
The cart field at the bottom allows you to limit this warehouse address to a specific cart. If used, this warehouse address will only be applied to updates for the specified cart. Otherwise, the address will be used for all carts that request it.
5. Click Save to save your new warehouse address.
