How to Create a Manual PO
3.1 min read
|Purchase Orders (POs) in Extensiv Order Manager can be generated a couple ways. The first way is via auto-PO generation, or what we call Auto-POs. Extensiv Order Manager is able to auto-generate purchase orders based on the re-order rules that was set up in the Inventory module.
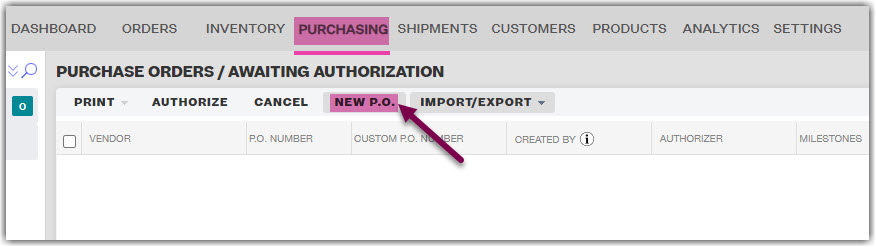
The second way is by creating a Manual PO, which is completed in the POs module. To begin creating your own Manual PO, go to your Purchasing module and click “+ New P.O”.
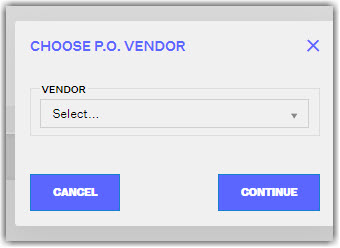
When the window appears, select the vendor you’d like to create your PO for. Please note, to find your vendor(s) in this list, they must have been previously added via the Vendors sub-section in the Settings module.
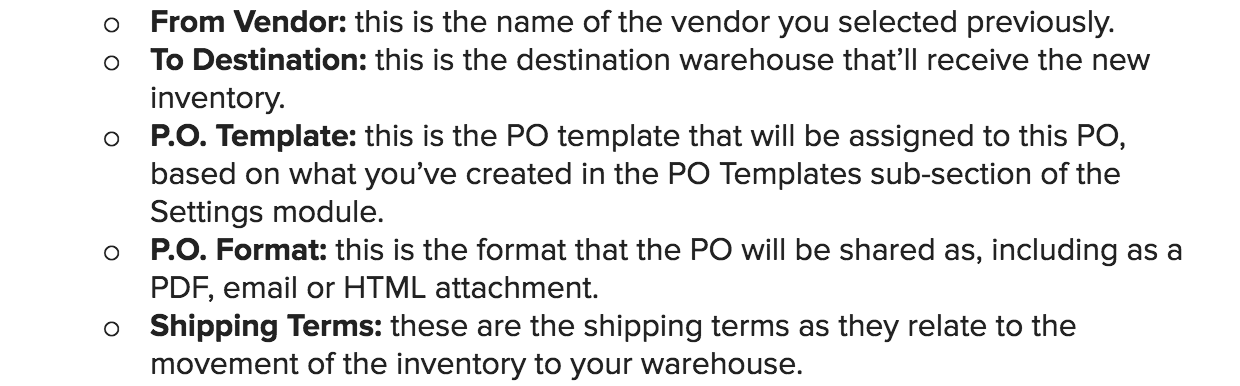
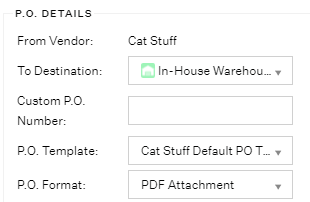
The next window will be titled “New Purchase Order” and has several fields that must be completed before proceeding to the next step.
There are four sections requiring your input here, including:
-
P.O. Details:


-
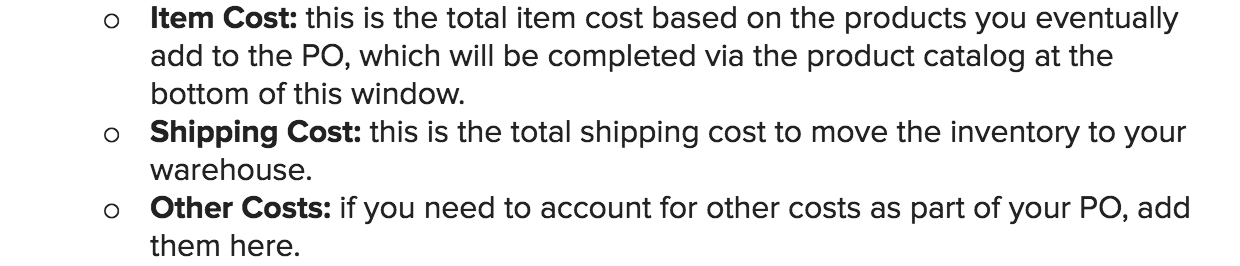
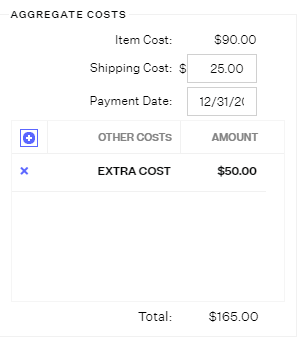
Aggregate Costs:
-
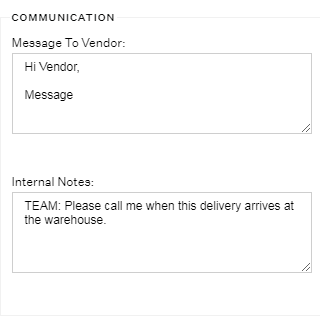
Communication:

-
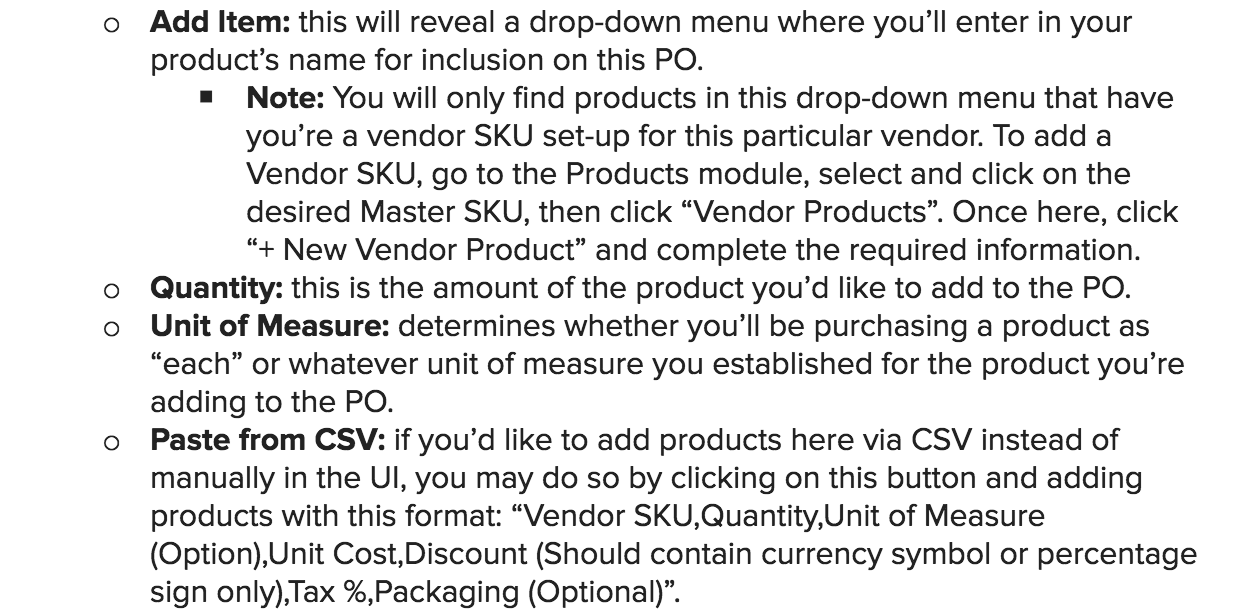
Product Catalog:
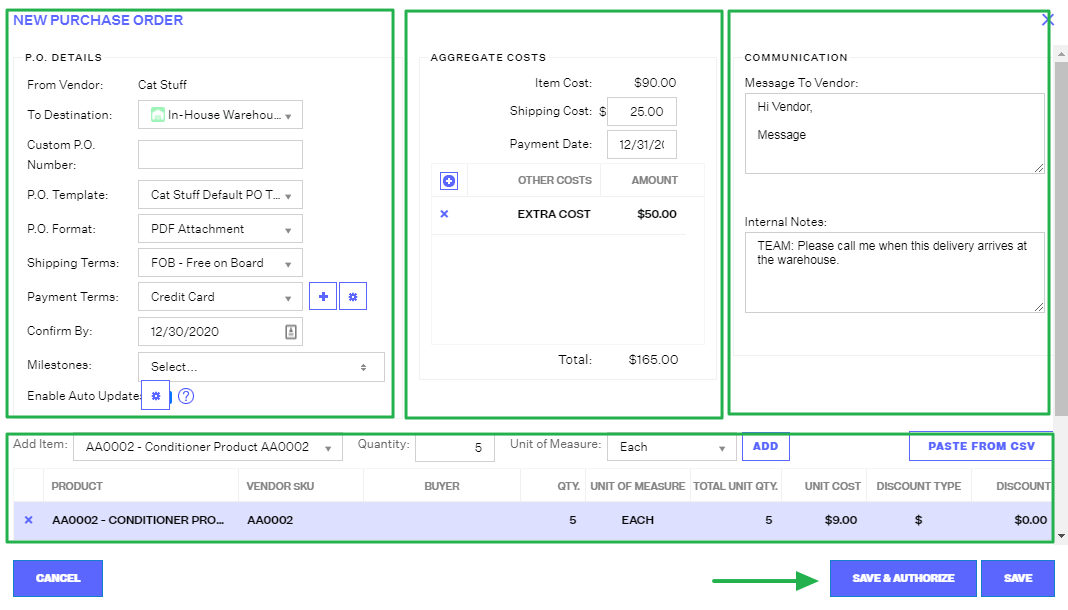
Once you’ve completed all those sections, you’ll have the option to click “Save & Authorize” or “Save”:
- Save & Authorize: this will save your PO and move it to the “Awaiting Confirmation” sub-section on the left-hand navigation, where it will await confirmation from your vendor before proceeding.
- Save: this will save your PO and keep it in the “Awaiting Authorization” sub-section of the left-hand navigation, where it will need to be authorized by an admin on your team with authority to do so.
If you select “Save & Authorize”, you can find the PO in the “Awaiting Confirmation” sub-section under whichever warehouse you selected as a destination. By selecting the PO(s), you’ll be presented with several new options, including:
- Print: this will provide you with a downloadable version of the Pro Forma, in bulk for all POs selected.
- Re-send: this will re-send the PO to your vendor, in bulk for all POs selected.
- Cancel: this will cancel the PO(s) selected, and will send the PO(s) to the “Canceled” sub-section in the left-hand navigation.
- Confirm: select this option if your vendor acknowledges and confirms the PO, in bulk for all POs selected.

In the bottom half of this page, you may also edit the PO on an item-by-item basis by adding an item, editing an existing item or removing an item. If you pursue any edit actions, this will bounce the PO to “Awaiting Re-Authorization”, where it must be re-authorized and ultimately confirmed at a later time. All actions taken regarding the PO will also be tracked in the “History” tab in the bottom-right of the window.
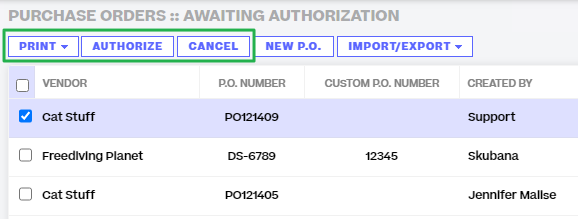
If you select “Save”, you can find the PO in the “Awaiting Authorization” sub-section under whichever warehouse you selected as a destination. By selecting the PO, you’ll be presented with several new options, including:
- Print: this will provide you with a downloadable version of the Pro Forma, in bulk for all POs selected.
- Authorize: this will authorize the PO and move it to the “Awaiting Confirmation” stage, in bulk for all POs selected.
- Cancel: this will cancel the PO(s) selected, and will send the PO(s) to the “Canceled” sub-section in the left-hand navigation.
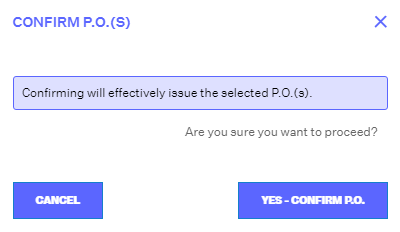
Once you’re ready to confirm a PO, you’ll be prompted with a new window. Click “Yes – Confirm P.O.”
You will be able to find the PO you’ve created in the “Pending Delivery” sub-section, under whatever your selected destination warehouse was. By selecting the PO, you’ll be presented with several new options, including:
- Print: this will provide you with a downloadable version of the Pro Forma, or a sheet of the Pending Items, in bulk for all POs selected.
- Re-send: this will re-send the PO to your vendor, in bulk for all POs selected.
-
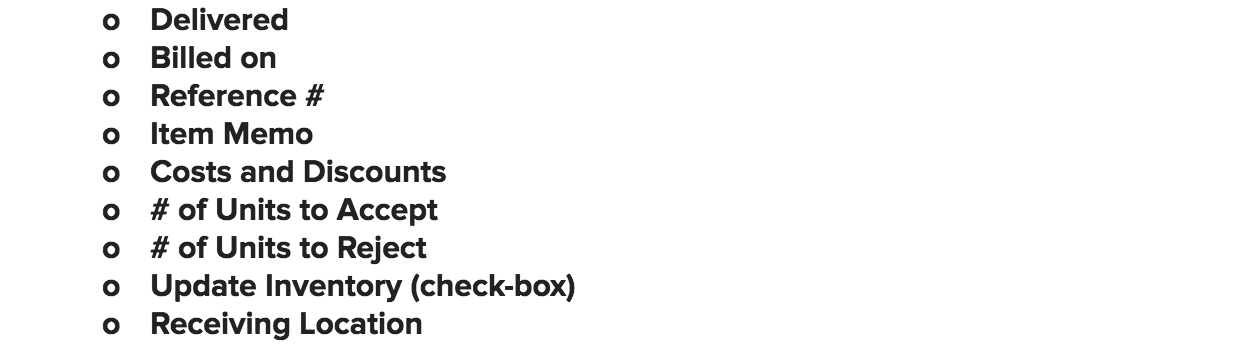
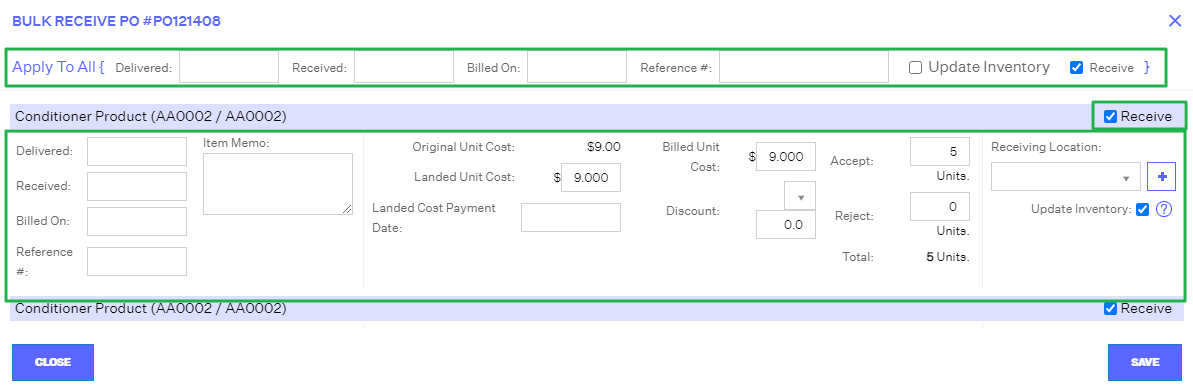
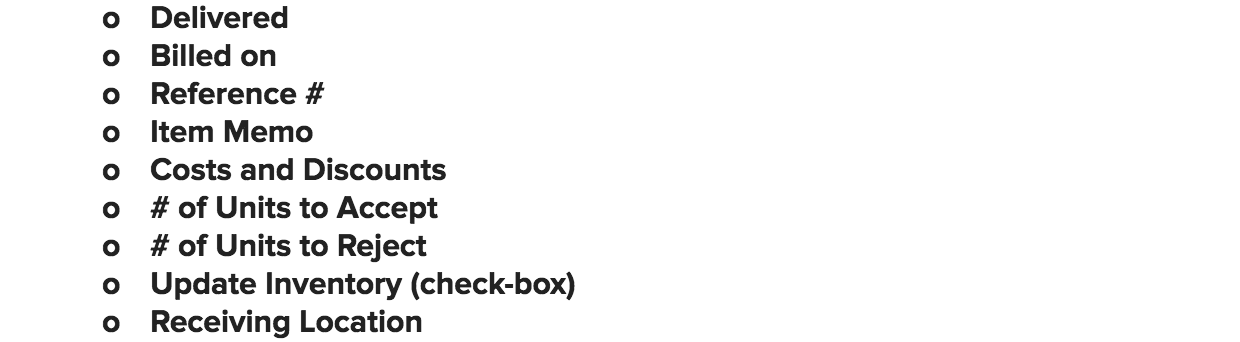
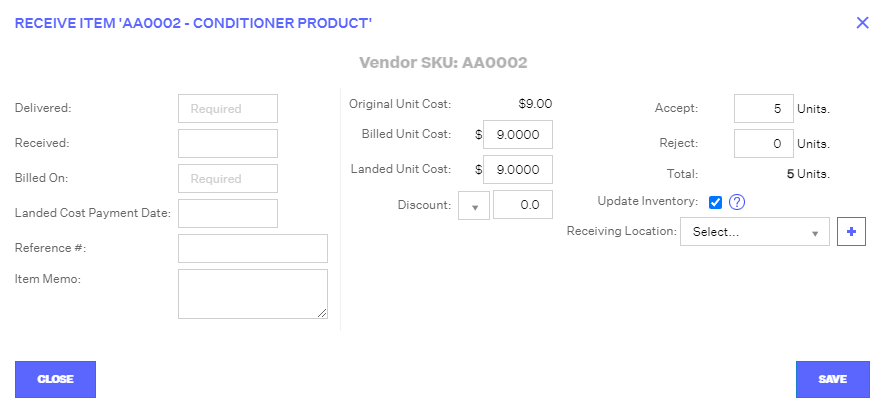
Receive: this will accept the inventory into your warehouse, in bulk, in bulk for all POs selected. You should accurately complete the fields requested, including:
-
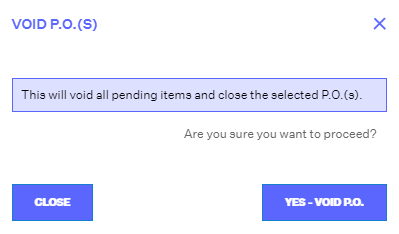
Void: click here if you and the vendor mutually agree to cancel the selected PO(s) at this stage, and will send the PO(s) to the “Voided” sub-section in the left-hand navigation.
Before proceeding, make sure you hit “Save”.
In the bottom section of this window, you’ll have five options to manage this PO’s individual items on a one-by-one basis, including:
- Add Item: this will add an item to the PO.
- Edit: this will revise an item already on the PO.
-
Receive: this will present receiving options for items on this PO, and you should accurately complete the fields requested, including:
-
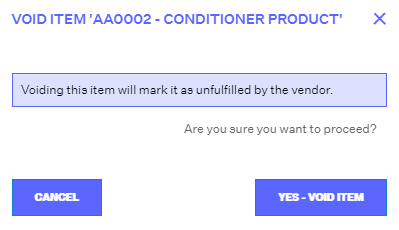
Void: this will present receiving options for items on this PO, and will send the PO to the “Voided” sub-section of the left-hand navigation.
-
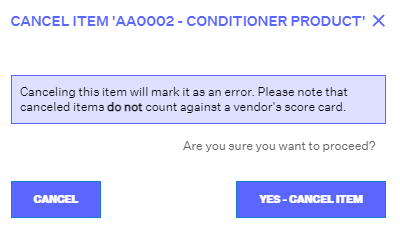
Cancel: this will cancel items on this PO, and will send the PO to the “Canceled” sub-section in the left-hand navigation.
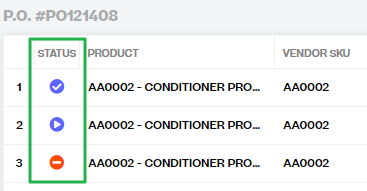
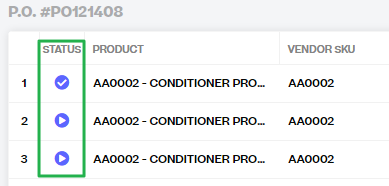
Once you have received your PO – or accepted some units in your PO, but not others – the PO will move to a new set of statuses in the left-hand navigation, including:
-
Partially delivered: if the PO(s) had product quantities accepted and others pending, the PO(s) will go here and be denoted with an appropriate status icon.
-
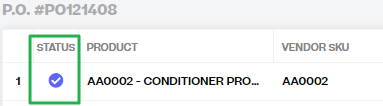
Fulfilled: your PO(s) go here if it/they was/were accepted in entirety, and then denoted with the appropriate status icon.
-
Closed short: if any items that were originally received and then revised to “Voided”, the PO(s) would go here and be denoted with the appropriate status icon.