Exporting Orders
1.2 min read
|Extensiv Order Manager users have the ability to export out your orders into an Excel, Text or CSV file. You can choose to export all fields or just a subset of them.
Step 1
Go to the Orders Module.
Step 2
In the Orders Module, select all of the orders you want to export out of Extensiv Order Manager. To select orders, check off the boxes on the left-hand side of your orders list. To export all orders in a view, you can click on the checkbox next to channels to highlight all orders.
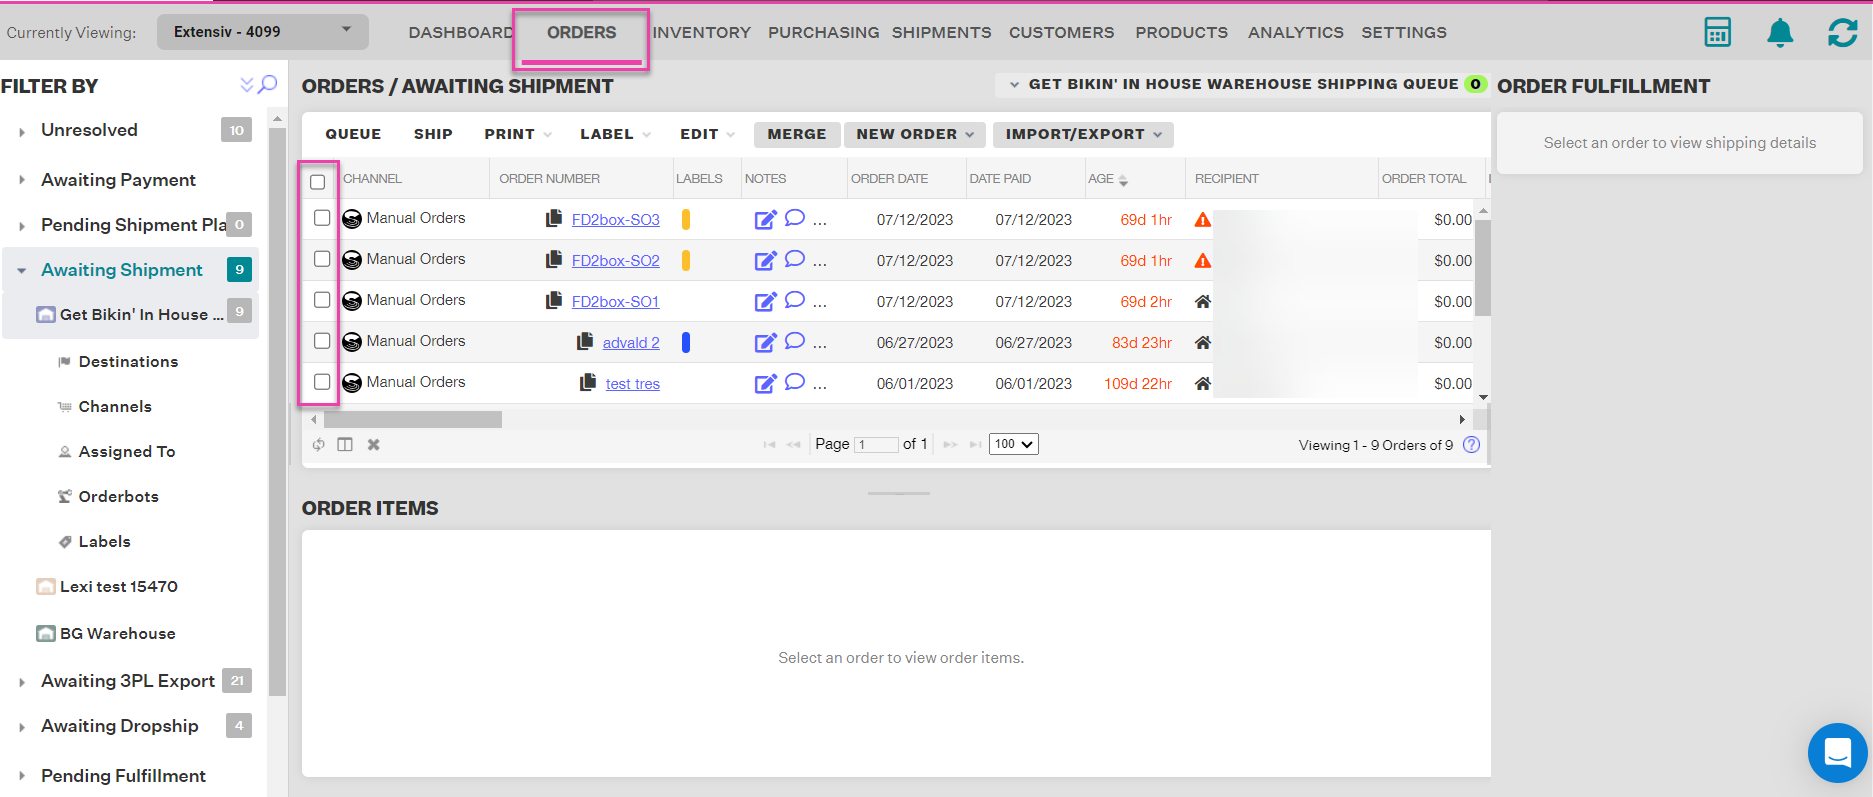
Step 3
Select the Import/Export dropdown menu followed by “Export Selected Orders” and a new window will open. If you have not yet configured export settings, select “Configure Settings”, which will then prompt you to create a new Order Export Setting.
Step 4
In the new window that opens, give your Export Setting a name and select a format for the file (CSV, Excel, or Text).
Step 5
Select the fields you would like to include in this export and give each column a name. The ‘Export Fields (Include column headers?)’ check box enables/disables the showing of column headers on the exported file.
Click Save once complete.
Step 6
On the Order Export Settings, you will now see the new export settings you just created. Select the export setting from the list and click Export Orders. The file generated will be emailed to the email address associated with the account. If you do not receive the email in your inbox, please check your spam folder.
Note
The orders export file generated has a maximum of 5,000 rows of data. If your export file has 5,001 - 5,002 rows, you should narrow down the number of orders you exported as you are likely not viewing all of the order data you expected to see.
If you are looking to export more than 5,000 rows of data, you should use the Historical Orders Export tool which has no limit to how much data it can export.