Importing Tracking Information for Shipped Orders via a Spreadsheet
1.9 min read
|Importing shipped orders via spreadsheets allows you to upload multiple orders that were shipped outside of Extensiv Order Manager at once.
Before You Start
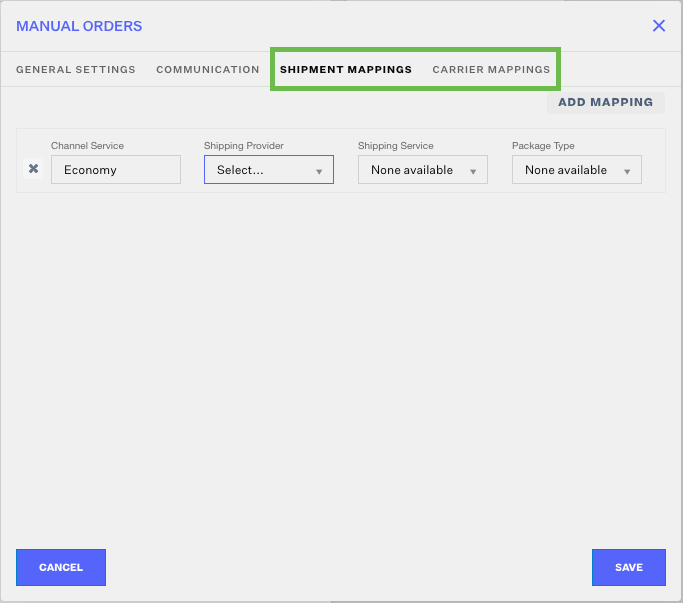
For shipment imports to work, the sales channel used will need to have shipment and/or carrier mapping completed. This can be done by going to the Settings Module > Sales Channels on the right-hand side, then selecting the sales channel and clicking “Edit”. Setting up these mappings allows you to communicate the service type to the sales channel. Shipment Mappings is used for orders shipping out of an In House warehouse and Carrier Mappings is used for 3PL warehouses.
Importing the Tracking Information
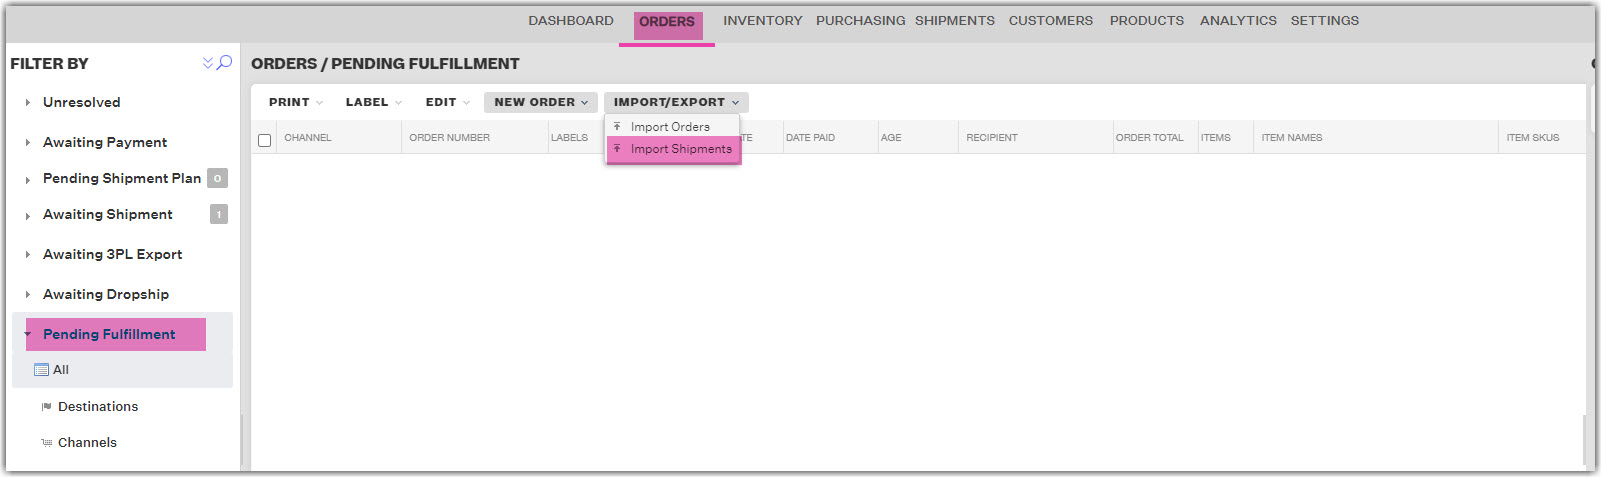
Go to the Orders Module and in the “Filter By” sidebar, select the Pending Fulfillment status dropdown and ensure all is selected. Click the “Import/Export” button and from the dropdown select “Import Shipment”
In the External Shipment Import window, click on the Import Mappings dropdown. From here you can choose which Sales Channel/Shipment Mappings you want to reference for your import.
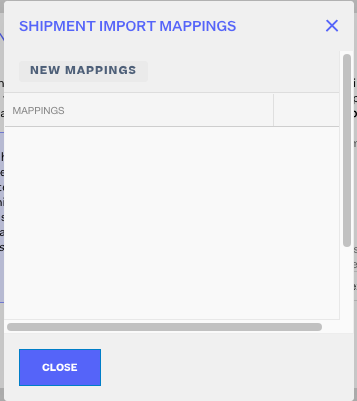
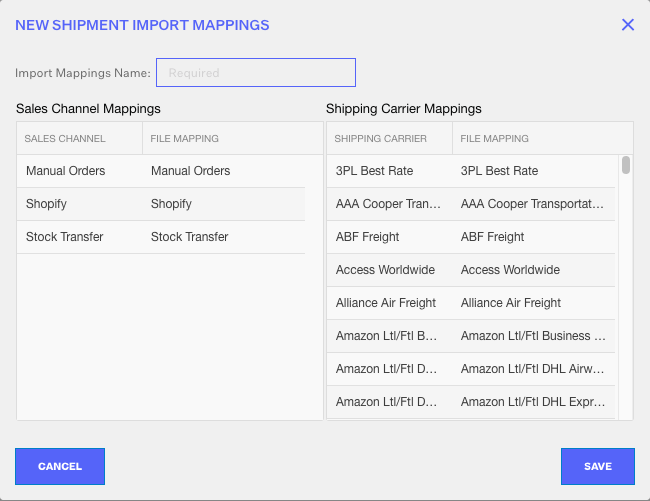
If you do not have any import mappings, click the “Configure” button and add a new mapping set by clicking “New Mappings”. You can also edit existing mappings on this page. If you have already completed this step, you can upload your spreadsheet by clicking on Select.
Once you’ve selected the Import Mappings, click on the download button and Extensiv Order Manager will download an Excel based on the mappings selected.
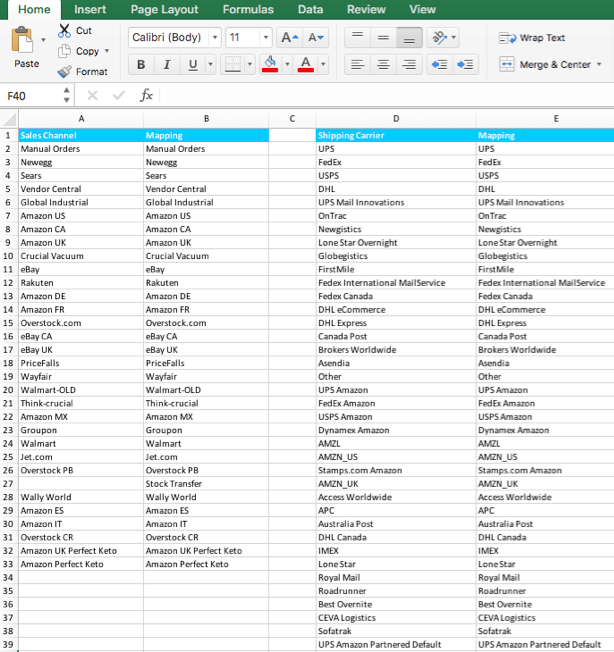
In the Excel document, the first tab will include the Mappings you selected to download the document. This page can be used to copy and paste the right cell data for the Sales Channel and Shipping Carrier according to the mappings.
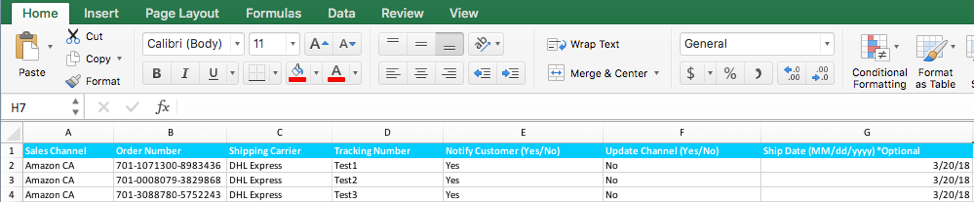
The second tab will have an empty Excel grid where you can fill in the following information about the shipments. The information is similar to what is captured on the Create External Shipments window on the Extensiv Order Manager UI.
- Sales Channel: Sales channel the order originated from (required)
- Order Number: Order number as it appears within Extensiv Order Manager(required)
- Shipping Carrier: Shipping Provider that shipped the order (required)
- Tracking Number: Tracking number for the order shipment
- Notify Customer: If YES Extensiv Order Manager will send an e-mail notification to the customer; If NO Extensiv Order Manager will not send an e-mail notification
- Update Channel: If YES Extensiv Order Manager will share the tracking info with the sales channel; If NO Extensiv Order Manager will not share the tracking info with the sales channel
-
Ship Date: Date the order was shipped (should be included in MM/dd/yyyy format)
NOTE: The data in these fields must match the data entered in Extensiv Order Manager or it may cause an error on upload. - Carrier Fee [USD]: Amount of the fee charged by the shipping carrier.
Once your spreadsheet is completed, return to Extensiv Order Manager and the External Shipment Import modal and select the file you want to upload. Then click “Continue.”
Extensiv Order Manager will review the file and report how many new shipments were added, any existing shipments updated, or any errors in the Excel File. Errors in the file will be captured in the Error Log. A summary of the results can also be e-mailed so you can see which shipments had errors.

If needed, you can check the shipments you added/updated to ensure the changes were applied correctly.