Authorizing a P.O.
0.6 min read
|P.O.s can be created either manually, or through the Auto-P.O. feature. Once a P.O. has been created, it will be viewable from the Purchasing Module in Awaiting Authorization status. Authorizing a Purchase Order will send the P.O. template to your vendor. The below steps will walk you through the P.O. authorization process in Order Manager.
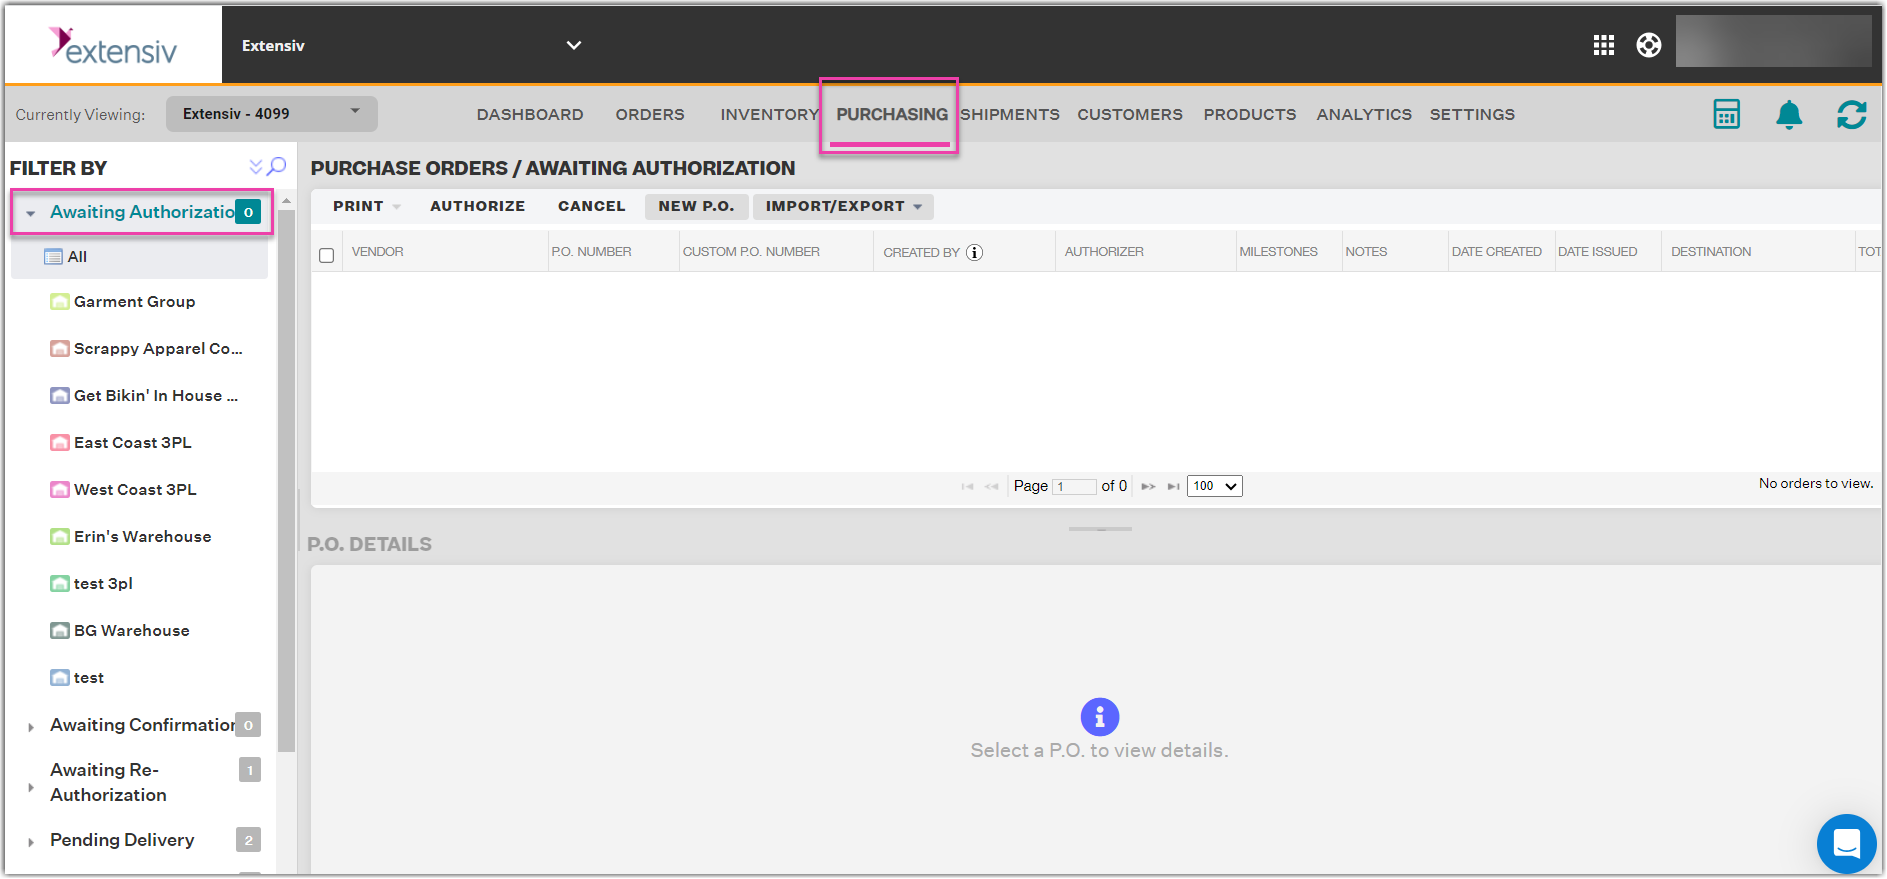
- Navigate to the Purchasing Module.
- From the left-side status menu, select Awaiting Authorization. This will expand a drop-down menu of all your warehouses as well as the number of P.O.s associated with those warehouses that are in the "Awaiting Authorization" status.
- After selecting a warehouse, select the check boxes next to the P.O.(s) you wish to send to your vendor, then select Authorize from the top menu.
- A prompt will display asking you to confirm your selection. Select Yes - Authorize P.O. to proceed.
- Once a P.O. has been authorized, it will be moved to an Awaiting Confirmation status. This will issue an emailed P.O. to the email address that you have listed as the vendor contact within the Settings module.