Creating Vendor Products in the App
2.7 min read
|This article provides a step-by-step guide to creating vendor products in the app.
Setting up vendor products is a necessary step to utilize the Purchase Orders and Analytics modules within Extensiv Order Management Vendor SKUs establish a cost per SKU, which forms the foundation of profitability reporting within Analytics. The Cost of Goods Sold (COGS) within Extensiv Order Management is ultimately calculated by the landed cost of a product on a purchase order, which starts as the cost of a Vendor SKU.
Like Listing SKUs are Master SKUs for customer orders, Vendor SKUs serve as the bridge between a Master SKU to a supplier for reordering inventory. For products sourced from multiple vendors, there can be a different Vendor SKU value for each vendor, but there needs to be a Vendor Product to create a Purchase Order from a given vendor.
When creating or editing products in Extensiv Order Manager, you can choose between two methods: manual creation in the UI or importing in bulk via spreadsheet. To create a vendor product in the UI, follow the steps outlined below:
- Go to the Products Module.
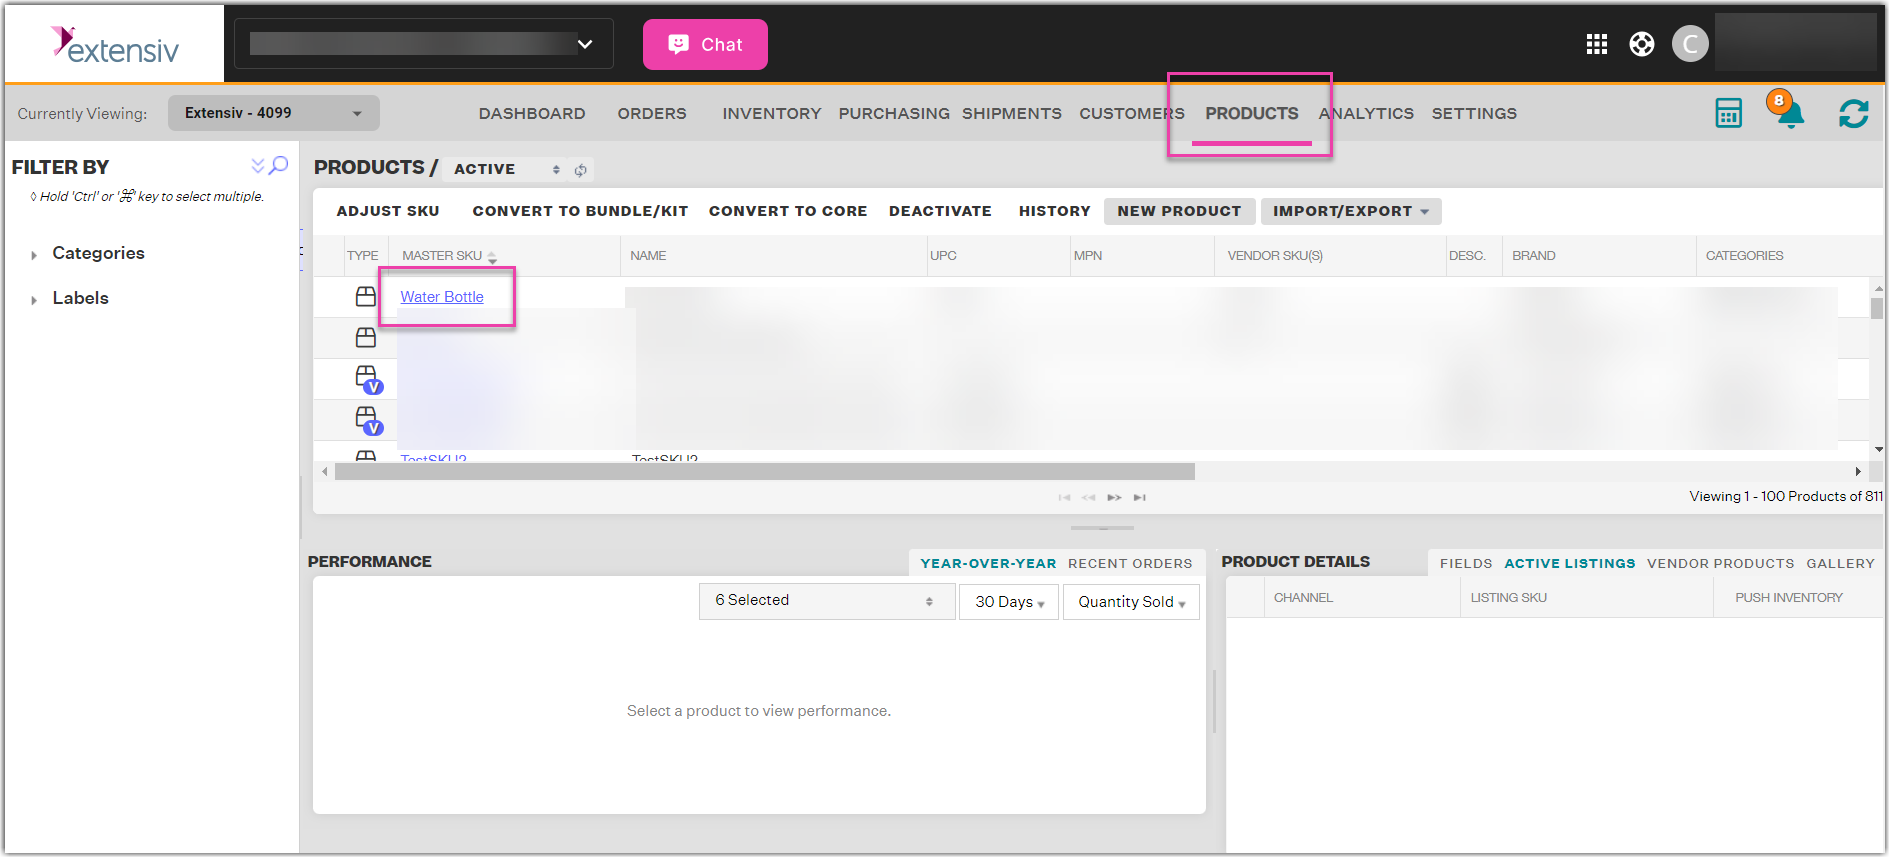
- Click the hyperlink of the Master SKU you want to create a vendor product.
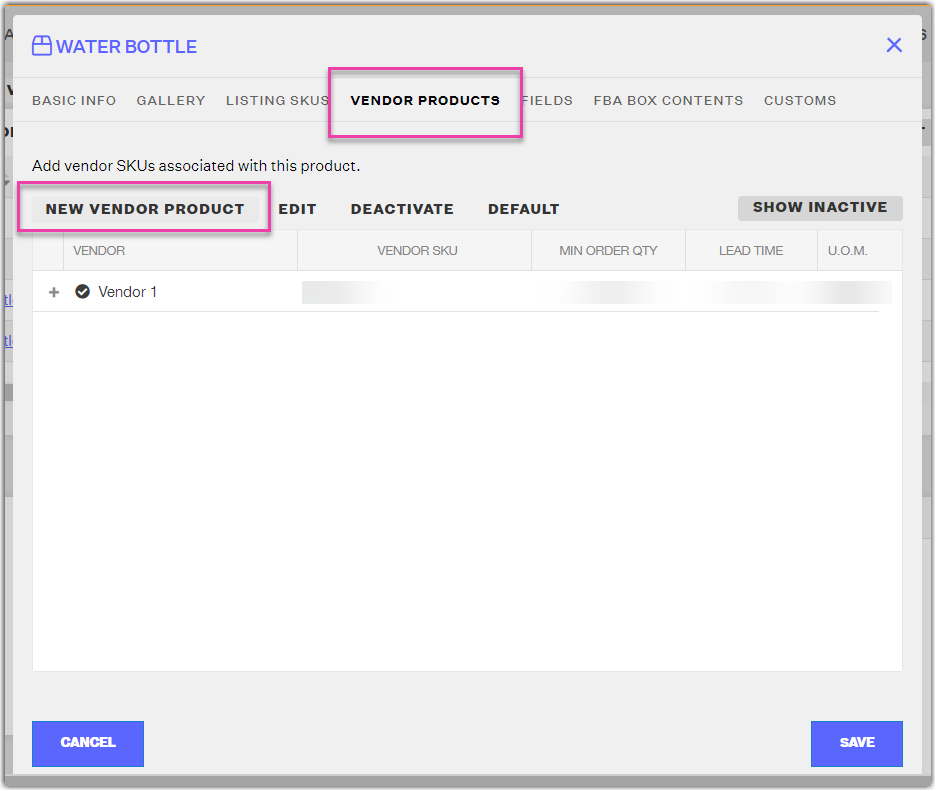
- In the Product Details window, click the Vendor Products tab, then click New Vendor Product.

- In the Add Vendor Product window, you'll need to fill in the fields for Vendor, Vendor SKU, & at least one Pricing Tier. However, you should fill out every applicable field in this window as most of these fields impact Extensiv Order Manager's Auto PO calculations and will save you time, in the long run, to set now versus later when you create your first purchase orders. Use the "+" or "Add" buttons to create new Pricing Tiers and Units of Measure.
- Vendor: Select the vendor that the Vendor SKU is associated with. The list of Vendors you can choose from here is pulled from the Settings Module, Vendors tab.
- Vendor SKU: How the product ordered is identified by the supplier. These values should be pre-established with the vendor. Remember that this SKU will appear on a purchase order.
- Minimum Order Qty: The fewest number of units that can be purchased from the vendor to qualify for reorder.
- Lead Time: The typical amount of time it takes for the vendor to deliver the product to your warehouse once the purchase order has been authorized by your team.
- Auto-P.O. Rounding: How Extensiv Order Manager should round the number of units for an order in an Auto PO calculation. Round Up will round up to the next Unit of Measure quantity exactly, Round Properly will round to the nearest Unit of Measure quantity, whether that is up or down, and Exact will not round at all.
- Packaging: If your products require special packaging, you can specify that here. (ex: "plastic" or "cardboard box".)
- Pricing Tiers: You'll need to set up at least one pricing tier. If your vendor sells you stock at a flat rate regardless of how many units you order, simply set one pricing tier by entering the From quantity at 1 and the To quantity to any large number. However, if the vendor provides you with multiple prices depending on how many units you order, create new tiers accordingly. The base pricing tier will serve as the default source of Inventory Value for your analytics. (ex: 1 to 500 units will cost $5 apiece, while the 501st unit ordered and up will cost $4 apiece.)
- Units of Measure: If your vendor sells to you in any specific quantities, then list them here. These UoM are incorporated into Auto PO calculations according to the option you selected as your Auto-P.O. Rounding choice. (ex: dozen = 12 units). An Auto PO can determine that you should order 50 units from your vendor, and when Rounded Properly, the Auto PO will determine you should order 4 dozens, since 50 units rounded properly rounds down to 48 units.
- Click Save when you have completed entering the required information.
- Back in the Product Details window, you should see your new vendor product displayed on the list.
- If you only have one Vendor Product for a Master SKU, Extensiv Order Manager will automatically set it the Default Vendor Product when you Save this window. The Default Vendor Product is indicated by a checkmark icon next to the vendor name.
If you order a product from more than one vendor, make sure to set up multiple Vendor Products and indicate one as the Default Vendor Product by selecting it and clicking the Default button.NOTE
Extensiv Order Management will only generate Auto POs for the Default Vendor Product.
- Click Save to close the window and go back to the Products page.