-
Order Management
- Dashboard
-
Orders
- FBA Workflow Box Contents & Secondary "Ship From" Address
- Shipping Orders
- Resolving an Order in Missing Product Information Status
- Fulfilling an order using MCF (Multi-Channel Fulfillment) for a Core Product in a Bundle
- Changing an Order to Amazon Multi-Channel Fulfillment (MCF)
- Downloading and Printing Pick Lists
- Ship Multiple-Package Orders
- Downloading and Printing Packing Slips
- Resolving Missing Product Info Orders
- Resolving Out of Stock Orders
- Missing Stock Location and Configuring Inventory
- Creating a Manual Order
- Resolving an order that is "Missing Fulfillment Source"
- Changing Fulfillment Method and Source
- FBA Order Management
- Export an Order to a 3PL
- Searching and Filtering Orders
- Validating Shipping Addresses
- Reprinting Shipping Labels
- Multi-Channel Fulfillment
- Resolving an Awaiting Payment Order
- Can I create an RMA for an FBA order?
- Restoring a Cancelled Order
- Exporting Orders
- Merging Orders in Order Manager
- Splitting Orders in Order Manager
- Importing Tracking Information for Shipped Orders via a Spreadsheet
- Unresolved: Missing Order Info
- Unresolved: Missing Fulfillment Source
- How to add an item to an existing order
- Updating Orders in Bulk
- Customizing the organization of Columns in the Orders Module
- What does the error "Weight cannot be less than the total customs item weight" mean?
- Shipping an Order with Multiple Packages
- Extensiv Order Manager Workflow for Sending Dropship Orders via Email
- Manually Mark an Order as Shipped - Individually or in Bulk
- Customs
- Importing Orders Via Spreadsheet (In Bulk)
- Restore an On-Hold Order
- Canceling an Order
- Creating and Receiving an RMA
- Importing External Shipments
- Creating a Manual Order - Individually or In Bulk
- FBA Workflow
- Stock Transfers
- Box Contents Defaults for FBA Workflows
- Duplicate or Clone an Order
- Custom Fields for Orders (Custom Columns)
- Bulk Actions for Orders
- UPS Electronic Customs Documents - ETD & Commercial Invoices
- Shipping Orders - Processing Options
- DHL eCommerce Integration Specifics
- Amazon FBA: Common Errors and Troubleshooting
- Orderbot: Split Order by Available Stock
- Update about Accessing Orders
- Pre-order/Back Order Workflow
-
Inventory
- Uploading Inventory Through the UI
- How to Search for SKUs in the Inventory Module
- Manually Transferring Stock to Another Location
- Adding Inventory to a Stock Location Manually
- Creating Auto-Reorder Rules
- How to Filter Inventory by Warehouse
- Excluding a Warehouse from Showing Stock for all Products in Bulk
- Excluding Warehouse's Stock at the SKU Level
- Importing Stock Minimums
- Uploading Auto-Reorder Rules in Bulk
- Inventory Module Overview
- Incoming Units per Master SKU
- Inventory Update Triggers
- Inventory Value Reconciliation
- Channel Allocation Rules in Bulk (Global)
- Importing Inventory
- Channel Allocation Rules
- Uploading Inventory via Spreadsheet
- Inventory Rules per Master SKU
- Inventory Rules - Edit History
- Importing Reorder Rules
- Exporting Inventory
- Exporting Stock Details
- Inventory - How Extensiv Order Manager Presents Bundle Inventory
- Inventory - Transfers Tab
- Stock Edit History Export
- Stock Location - Inventory Management Functionality
- Bulk Inventory Reconciliation
- Strict FIFO
- Viewing Stock Edit History
-
Purchase Orders
- How to Create a Manual PO
- Auto POs + Reorder Rules
- Searching for POs
- How can I delete a line item from a purchase order?
- Updating PO Number Prefix
- How to Automate Purchase Orders (Auto-POs)
- Paste from CSV - PO Import
- Understanding Purchase Order (PO) Statuses
- Authorizing a P.O.
- Canceling a P.O.
- Printing a P.O.
- Receiving a P.O.
- Re-Sending a PO
- Voiding a P.O.
- Working with PO Milestones
- Restoring a PO
- Available Actions for a PO
- Exporting POs
-
Shipments
- Printing End of Day Forms
- How do I print an End of Day form or Package Level Detail report for UPS shipments?
- Searching for Shipments
- Printing Shipping Labels
- Tracking Shipments
- Voiding Shipments
- Exporting Shipments
- Postal Zones
- Shipments - Resending Confirmation Emails
- RMA Exports
- Parcel API Launch for Extensiv Brands
- Customers
-
Products
- Adjusting Master SKUs
- How to Disable Inventory Updates for a Specific Sales Channel
- How to Enable Extensiv Order Manager to Automatically Calculate Order Weight Based on Product Weight
- How to Reassign a Listing SKU to Another Product
- Search For Products
- How to Manage Products
- How to Import Your Vendor Products
- Associating a Listing SKU to a Master SKU
- How does Extensiv Order Manager handle variations of the same product?
- Creating Core Products in the App
- Creating Vendor Products in the App
- Creating Product Variations Through the UI
- Creating Listing SKUs through the UI
- Creating Bundles/Kits Through the UI
- Custom Bundle/Kit Export
- Custom Product Fields
- Creating Products via Spreadsheet
- Creating Vendor Products in Bulk (Via Spreadsheet)
- Creating Products through the UI
- Creating Listing SKUs in Bulk (via Spreadsheet)
- Product Creation FAQ
- Exporting Products
- Instructional Video - Master Product Spreadsheet
- Managing Digital SKUs
- Analytics
-
Settings
-
General
- Configuring Shipping Presets
- Update My Profile
- Disable the Inventory Update From Extensiv Order Manager to All Sales Channels
- How to Enable Out of Stock Control for eBay Sales Channels
- Company Info and Additional Account Settings
- Installing an App from the Order Manager App Store
- How to View Your Extensiv Order Manager Invoices
- How To Remove an App in Order Manager
- Ruby Has 3PL Integration
- Company Time Zone Setting
- Tax Identifiers
-
Sales Channels
- Deactivating a Sales Channel
- Editing Sales Channels
- Enable or Disable Extensiv Order Manager Email Notifications to Your Customers
- Shopify Tags
- Shopify Locations
- Amazon Cancellation Settings
- Steps in Adding Walmart as a Sales Channel
- Adding Newegg as a Sales Channel
- Adding eBay as a Sales Channel
- Viewing a Sales Edit Channel's History
- Reactivating Sales Channels
- Adding Amazon as a Sales Channel
- Adding Shopify as a Sales Channel
- Adding a Manual Sales Channel
- Adding Sales Channels
- Assigning a Packing Slip and/or Email Template to your Sales Channel
- How to Exclude a Warehouse From Pushing Inventory to a Sales Channel
- Setting Up Shipment & Carrier Mappings for Your Sales Channels
- Amazon Pacific Time Orderbot Setting
- Walmart Fulfillment Services - WFS
- WFS Workflow
-
Webhooks
- Order Creation Webhook
- Shopify Cancellation Webhook
- Shopify Refund Webhook - POS Orders
- Shopify Fulfillment Webhook
- Shopify Refund Webhook (e-commerce Orders)
- Shopify Product Deletion Webhook
- BigCommerce Webhook
- Shopify Product Update / Product Edit Webhook
- Shopify Auto-Subscribing Webhooks
- Order Payment Webhook
-
Shipping Providers
- Adding FedEx as a Shipping Provider
- How to Add Express 1 as a Shipping Provider
- Adding Amazon Buy Shipping as a Shipping Provider
- UPS Mail Innovations Services
- Adding DHL eCommerce as a Shipping Provider
- FedEx ETD
- Deactivate or Reactivate a Shipping Provider
- Adding Shipping Providers
- Customizing Shipping Services and Package Types Per Shipping Provider
- Vendors
-
Warehouses & Vendors
- Creating and Configuring Warehouses in Extensiv Order Manager
- Can I have additional order information populated on my Shipping label?
- Configuring Shipping Label Print Format Options
- Inventory Dependent Warehouses
- How to Configure the Order Export File for FTP Connections
- Deactivating a Warehouse in Extensiv Order Management
- Updating the Address/Return Address for Your Warehouse
- Search for Vendors
- Configuring a Dropship Vendor
- Creating an In-House Warehouse
- How do I connect Extensiv Order Manager with Deliver?
- Configuring Dropship Vendor FTP
- FTP Inventory Import for a 3PL
- Setting Up Domestic Backup Warehouses
- Setting Up a Warehouse's International Rank
- Pick List Settings
- Setting Up a 3PL Warehouse
- Setting Up Document Print Settings
- Setting a Dropship Template and Fulfilling Orders with a P.O.
- Use Component Inventory Setting for Bundles and Kits
- Instructional Video - Creating Warehouses & Warehouse Settings
-
Orderbots
- Orderbots - Complete List of Filters & Actions
- Postal Zones in Extensiv Order Manager
- Automating Orders to Fulfill from a Specific Warehouse
- Editing an Orderbot
- Deactivating an Orderbot in Extensiv Order Manager
- Mark Order as Shipped Orderbot
- Replace Address Orderbot
- Creating an Orderbot
- Support for Shopify's Additional Details
- Orderbots filtered by zip code range
- Adding Order Item to Order Orderbot Action
- Commonly Used Orderbots
- Understanding Apply Best Rate vs Cheapest Rate Orderbots
- Orderbot: Set order weight and dimensions based on products
- Orderbot: Using Hold the order for and Mark Order as Shipped
- Templates
-
General
- API
- API Integrations
- Accessing and Navigating Order Manager
- Error Messages
-
Order Manager
- Formatting Order Information When Shipping to US Territories
- Endicia's pay-on-use return labels?
- Integrating Endicia
- What are Orderbots?
- How To Set Up Shipments Import
- Setting Up Billing/Inventory Allocation Zones
- Reactivating an Orderbot
- [FAQ] What other Amazon marketplaces do you integrate with?
- Enable Shopify POS
- Adding BigCommerce as a Sales Channel
- Does Order Manager Support Amazon Buy Shipping?
- Error: "The Shippers shipper number cannot be used for the shipment"
- Shopify POS Location Capture and Orderbot
- Edit Shopify Order Items
- Order Export Configuration in the UI- Complete List of Order Export Fields
- Error Message “Invalid Customs Item Data”
- FBA to FBM Conversions - Amazon North America Remote Fulfillment with FBA Sellers
- Where does Extensiv Order Manager determine Inventory Value and COGS from?
- BigCommerce Order Statuses
- Brexit for UK Inventory & Shipments
- Customer Experience Upgrades
- Addressing missing Snapshot Data on July 9, 2023
-
Popular Articles
- Accounting Integrations
Creating Auto-Reorder Rules
Extensiv Order Manager uses Auto-Reorder rules to calculate when to auto-generate POs for your vendors for inventory replenishment purposes. Please note, the Auto-PO feature must be turned on in Settings > Company Info > Purchase Order Settings. We recommend that you have at least 30 days of historical data to ensure the calculations are more accurate and prevent from having auto-POs not generated.
Creating Auto-Reorder Rules
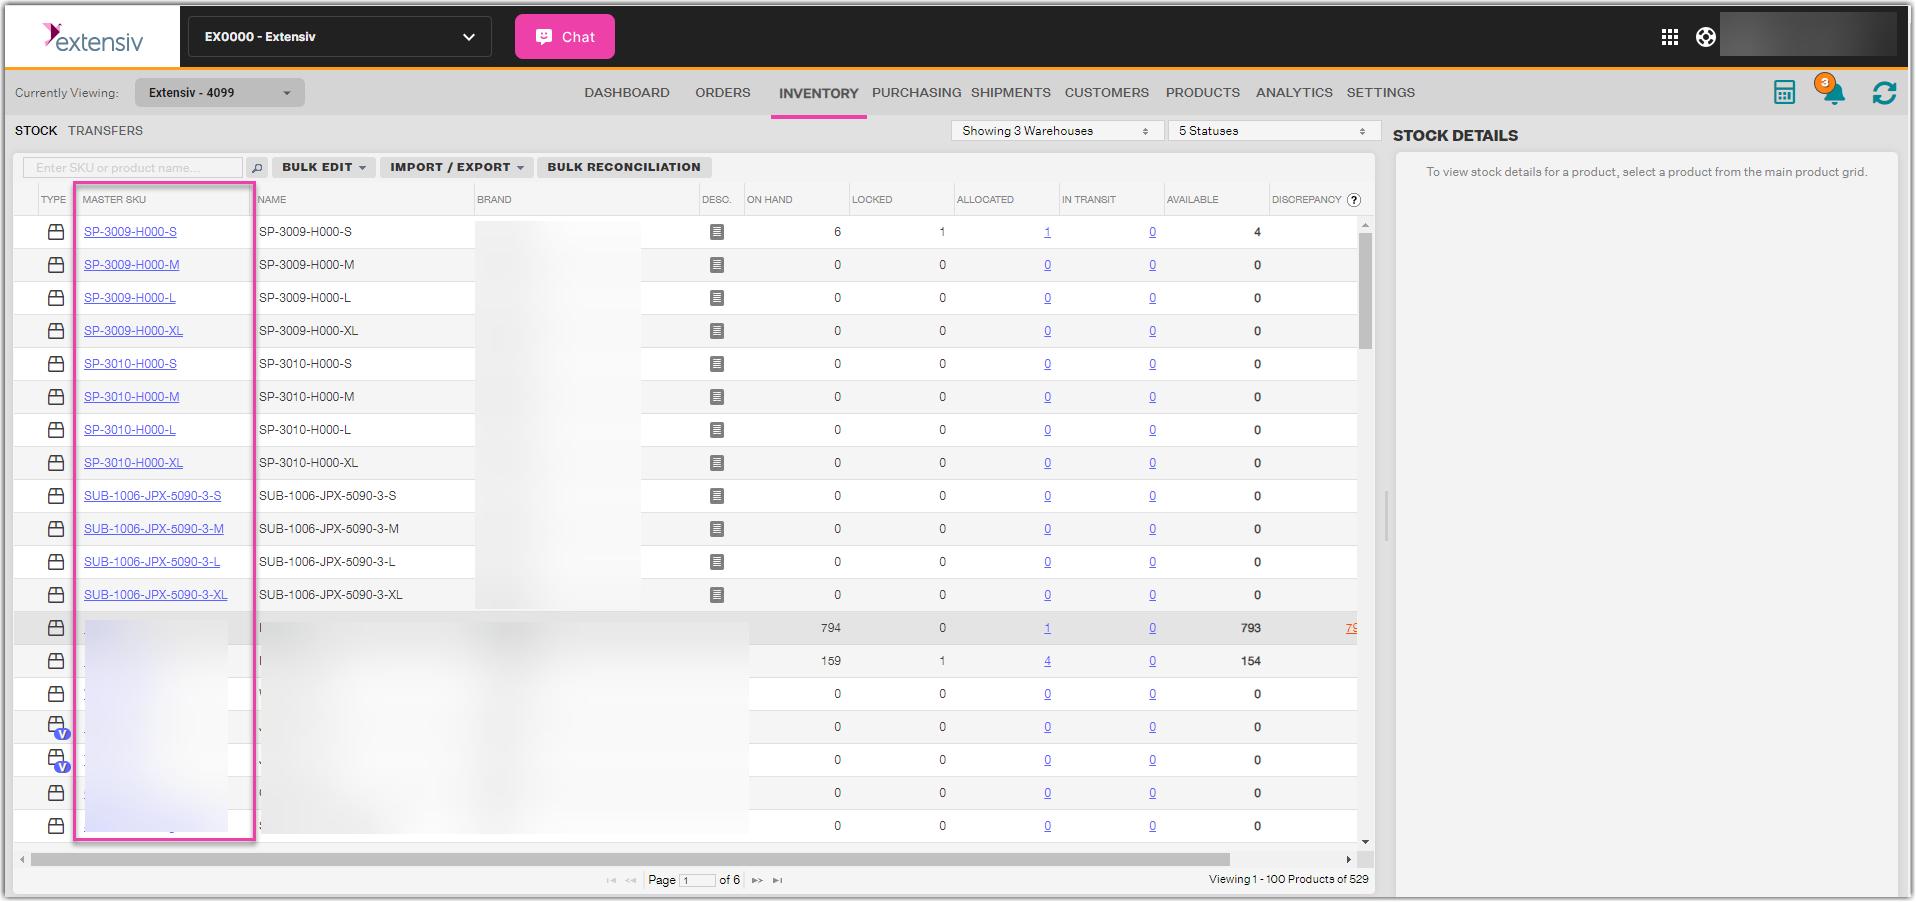
- On the Inventory page, click the Master SKU hyperlink that you would like to have an Auto-Reorder Rule.
- The Auto-Reorder Rules tab opens by default on the Inventory Rules dialog box. The variables can be reviewed in depth on the left-hand side. Default numbers will be selected; however, you can configure the variables for this Master SKU to fit your Purchase Order needs.
Sales Velocity: This is the average number of units sold per day during a specific number of days. Order Manager will use the sales velocity to determine if the SKU should be reordered. If there is no sales velocity for this SKU, or the sales velocity is 0, Order Manager will not include this SKU on auto-POs.
For example, if you input 30 for the number of days that Order Manager will consider to calculate your current sales velocity, and you sold 150 units during the last 30 days, the sales velocity will be 5 units per day.
Days In Stock: This is how many days of inventory you want to purchase when reordering inventory from your vendor. Days in stock are based on your current sales velocity.
For example, if you input 60 days as the number of days you want Order Manager to reorder enough inventory for, and your current sales velocity is 5 units per day, Order Manager will estimate that you’ll need at least 300 units to be in stock for the next 60 days. Order Manager will also take into consideration if you’ve set the forecasted growth for this SKU to a positive or negative percentage and if there are any incoming units on stock transfers or purchase orders, and adjust the estimate accordingly.
Forecasted Growth: This is the percentage of growth in sales you expect to see for this SKU once the reordered inventory has arrived at your warehouse. The forecasted growth is applied to the days in stock.
For example, if you input a forecasted growth of 10% for this SKU and your sales velocity is 5, the Order Manager will increase this number by 10% and will estimate that you’ll need at least 330 units to be in stock for the next 60 days (if you’ve input 60 days for your days in stock).
Buffer Days: This is the number of days between the reorder date, which is when the auto-PO will be automatically generated, and the lead time, which is how long it takes (measured in days) for the reordered inventory to arrive at your warehouse. The reorder date, which is tied to the lead time of this SKU, is when you need to submit the auto-PO to ensure that the inventory arrives before the runout date.
For example, if the lead time for this SKU is 30 days, and you input 0 for the buffer days, the auto-PO will be automatically generated on the reorder date, which in this case would be 30 days before the runout date. However, if you input 7 for the buffer days, the auto-PO will be automatically generated 7 days before the reorder date, which in this case would be 37 days before the runout date. - After inputting the required information, click the “Calculate P.O. Estimates” button. This will then give you estimated information on this Master SKU that will be helpful when reordering. It will appear as follows:
- Click Save.
Creating Auto-Reorder Rules in Bulk
- On the Inventory Module header, click import/export and select import reorder rules.
- Download the template and fill it out.
- Save the template and import it in by clicking on select file and clicking continue.
The Auto-Reorder rules can be set at a global level by going to Settings > Company Info > Inventory Settings. Please note, any changes to this section will override any custom configurations done at the Master SKU level.