Available Actions for a PO
2.6 min read
|Once in the Purchasing module, you can view purchase orders in different statuses. Depending on what status a PO is in, more/fewer actions will be available for users.
ie: You cannot void a PO item for a PO that is in an Awaiting Authorization status because you can simply remove it as it hasn't been sent to the Vendor yet.
The edit PO options will be seen under the Items tab of a PO.

Add Item
You can add new items to a PO in any open status. This means any PO that is not in the following statuses:
- Fulfilled
- Closed Short
- Voided
- Canceled
How to Add a New Item
- Click the Add Item button
- Click on the Select a Product dropdown and Search for the product you want to add.
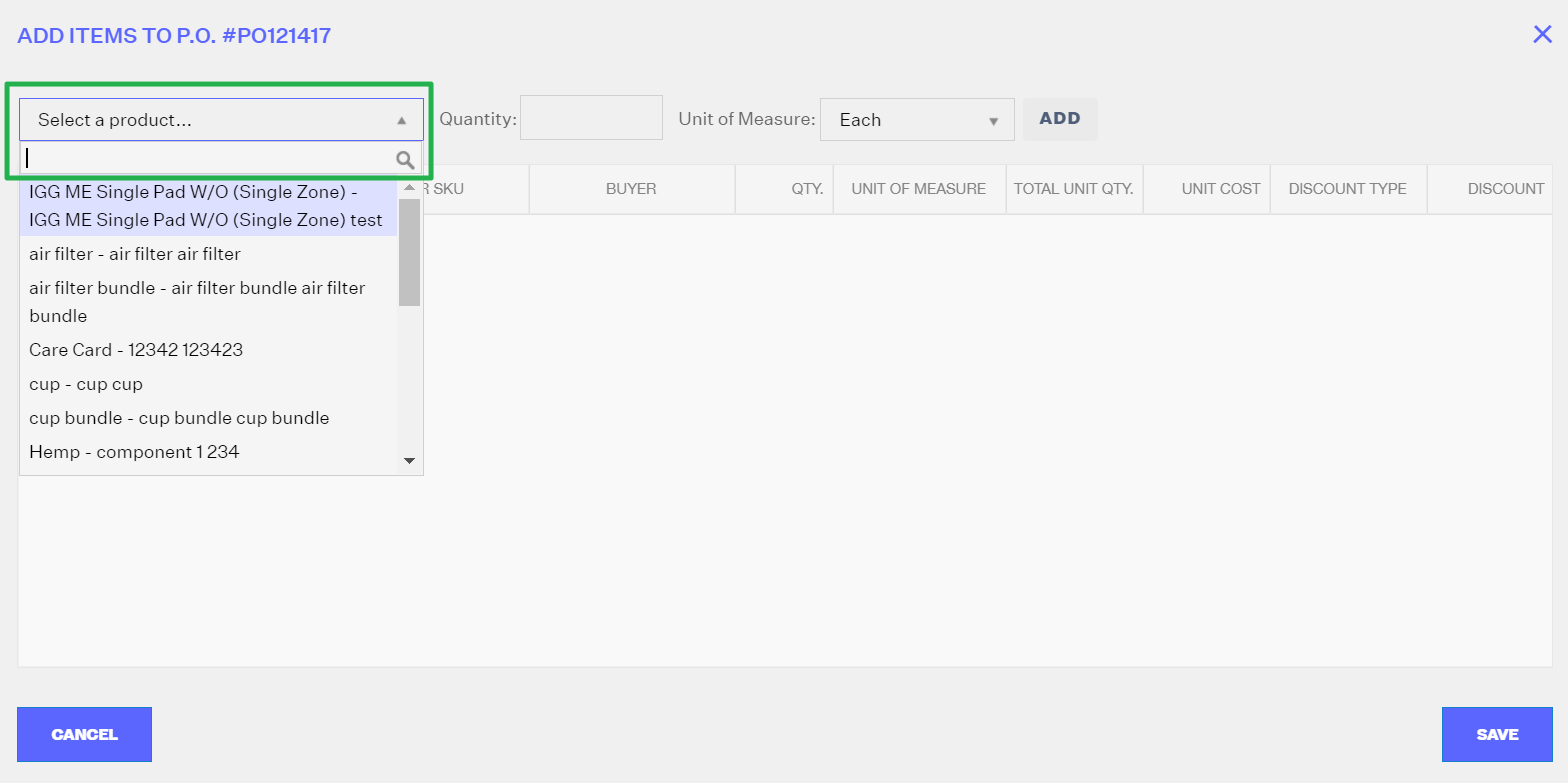
- Indicate the Quantity

- Select the Unit of Measure

- Click Add

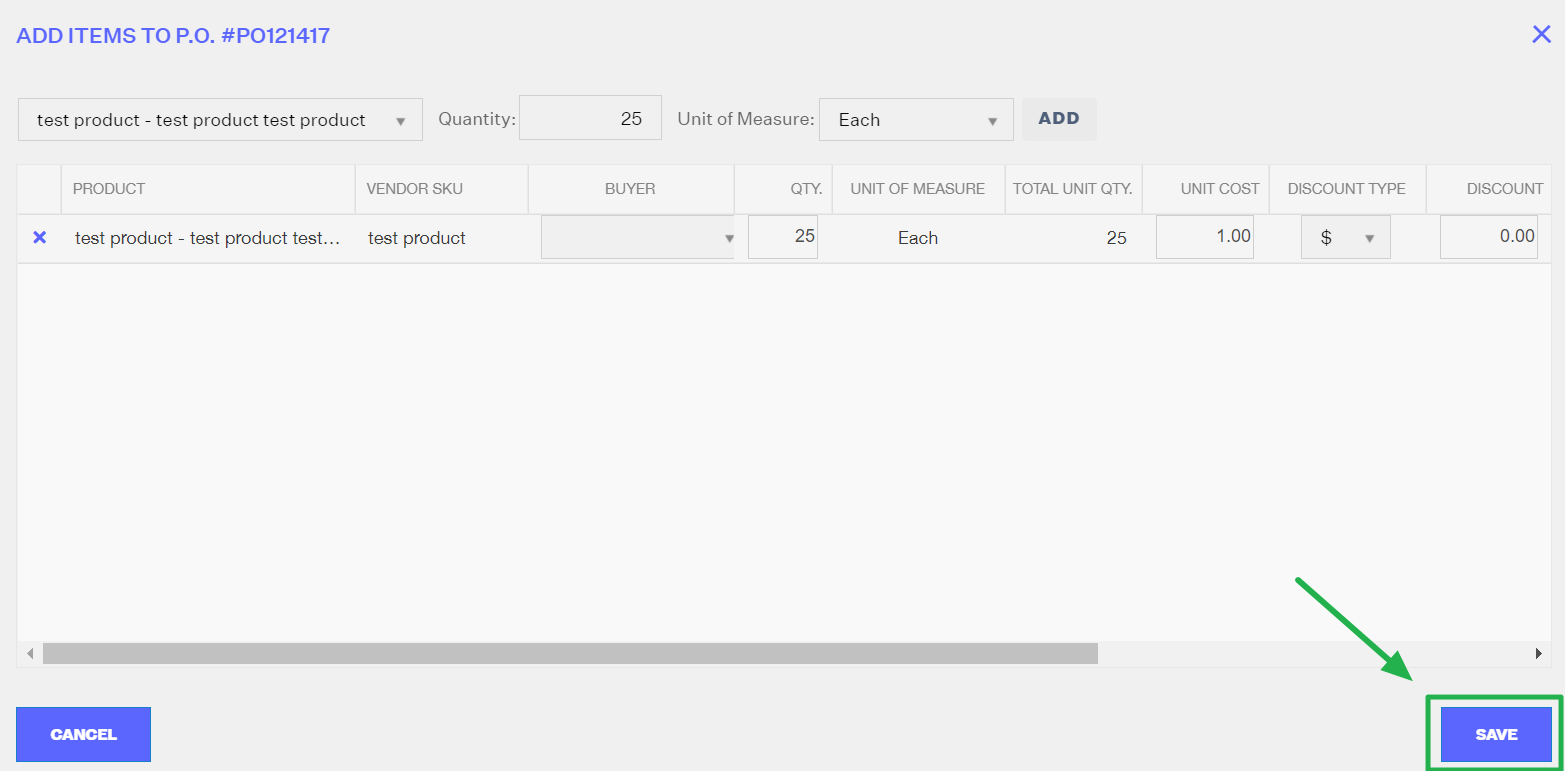
- After adding the product, you can add more details in the fields that can be edited
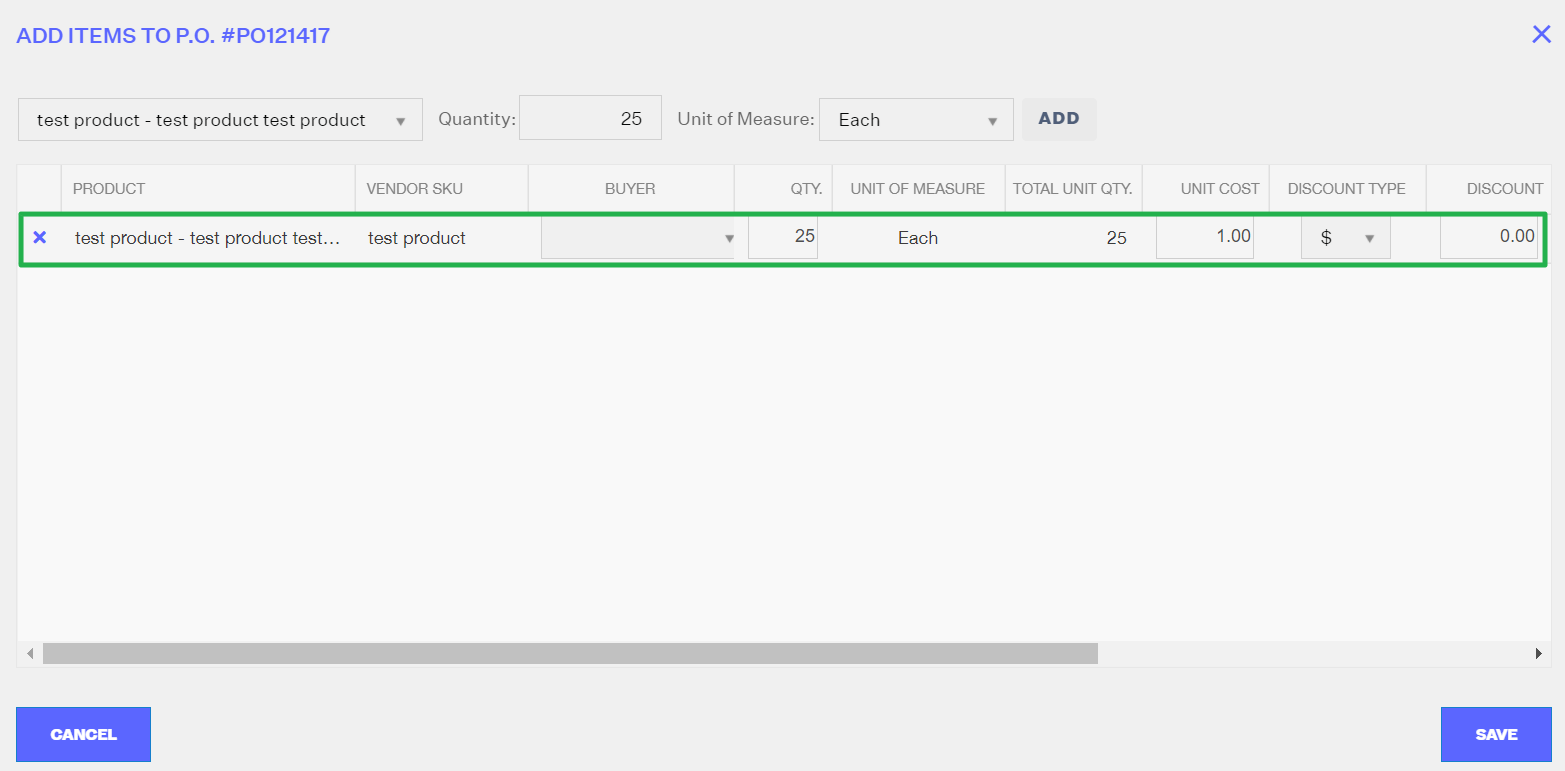
- Click Save
Edit
This option allows you to edit existing line items in the PO. To edit those items, select the row of an item, then click the Edit button.
These are the fields that can be edited in the Edit window:
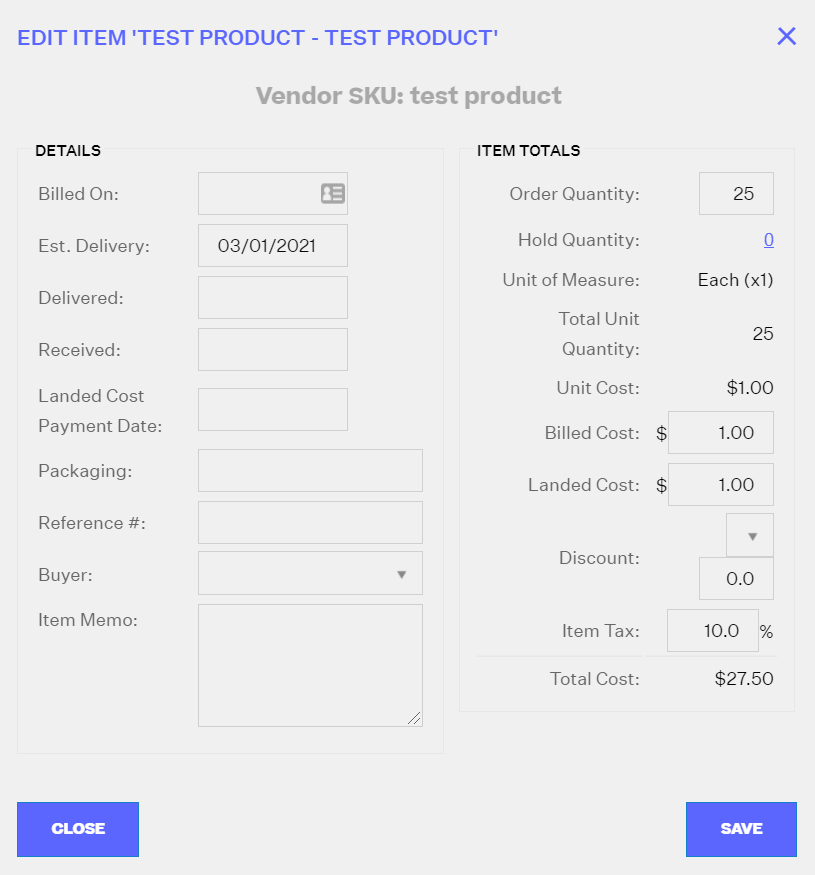
Make sure to click on Save after editing.
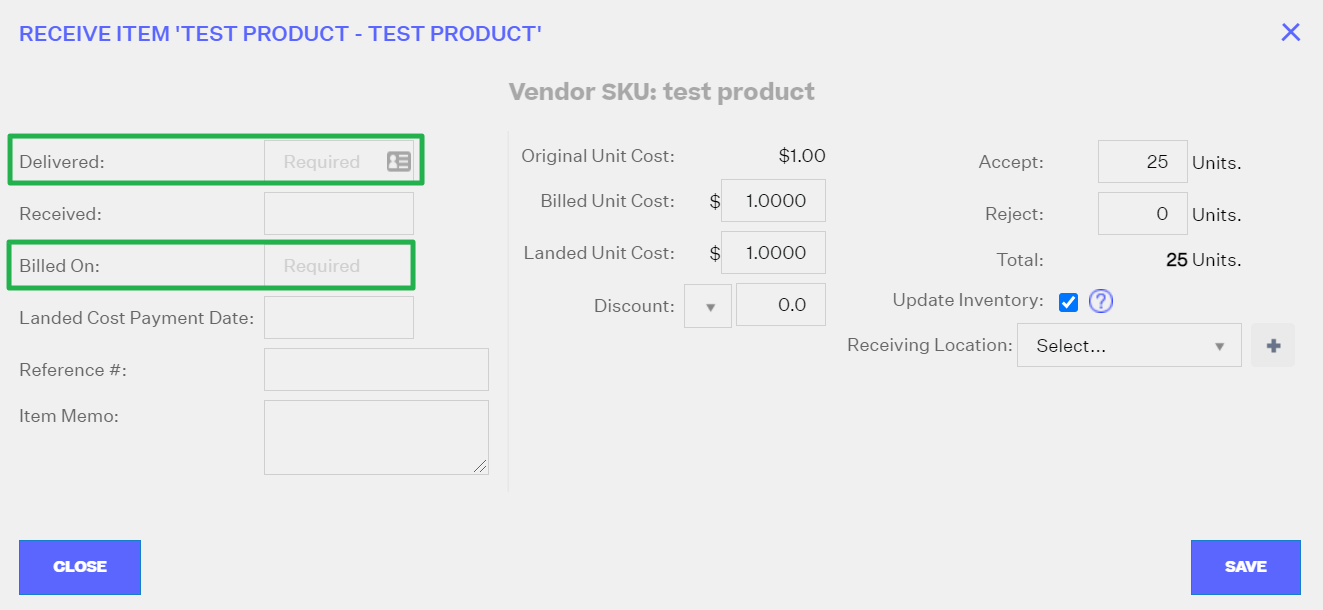
Receive
This option allows you to receive a selected line item. If you only receive some line items in the PO and not all, the PO will go to a Partially Delivered status. Receiving fewer units than were ordered will result in an additional line item for the same item to be created, where the remainder of the unreceived units are in a pending delivery status. For directions on how to receive an entire PO at once (or to select which items NOT to receive) visit this article.
These are the fields that you will see when you receive a PO. Delivered and Billed on Dates are required.
Checking the Update Inventory option will add the receiving stock quantities to the On Hand inventory for the product at the Receiving Location, in the Receiving Warehouse.
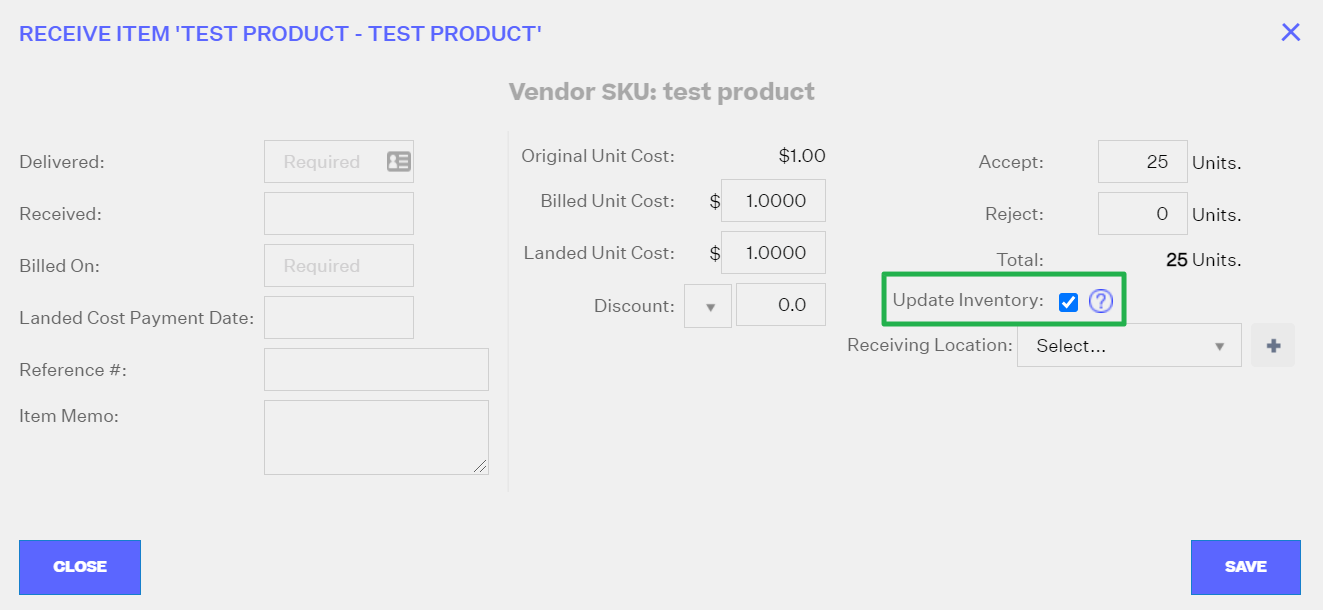
Select Receiving Location. If there isn't an existing location in the dropdown menu, add a new one by clicking on the plus (+) symbol.
Click Save after all edits have been made.
Void
This option allows you to void an item. Voiding items is only an option for unreceived (Pending) status items. Voiding is an option for POs as a whole, as well as for individual items.
NOTE
Voiding the item will mark it as unfulfilled by the vendor.

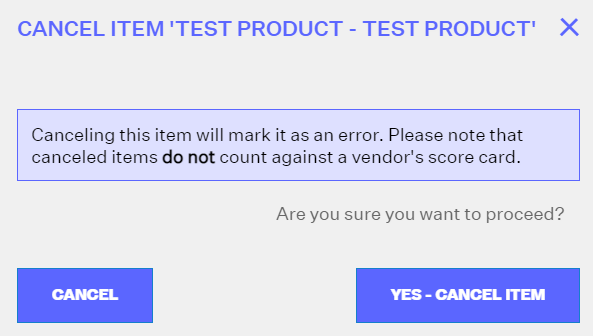
Cancel
This option allows you to cancel items. This is only an option for items in POs that have been Authorized, but that not yet been closed.
Details Tab
The details tab allows you to edit the PO Details, add other Aggregate Costs, manage Milestones and add Notes to Vendor.
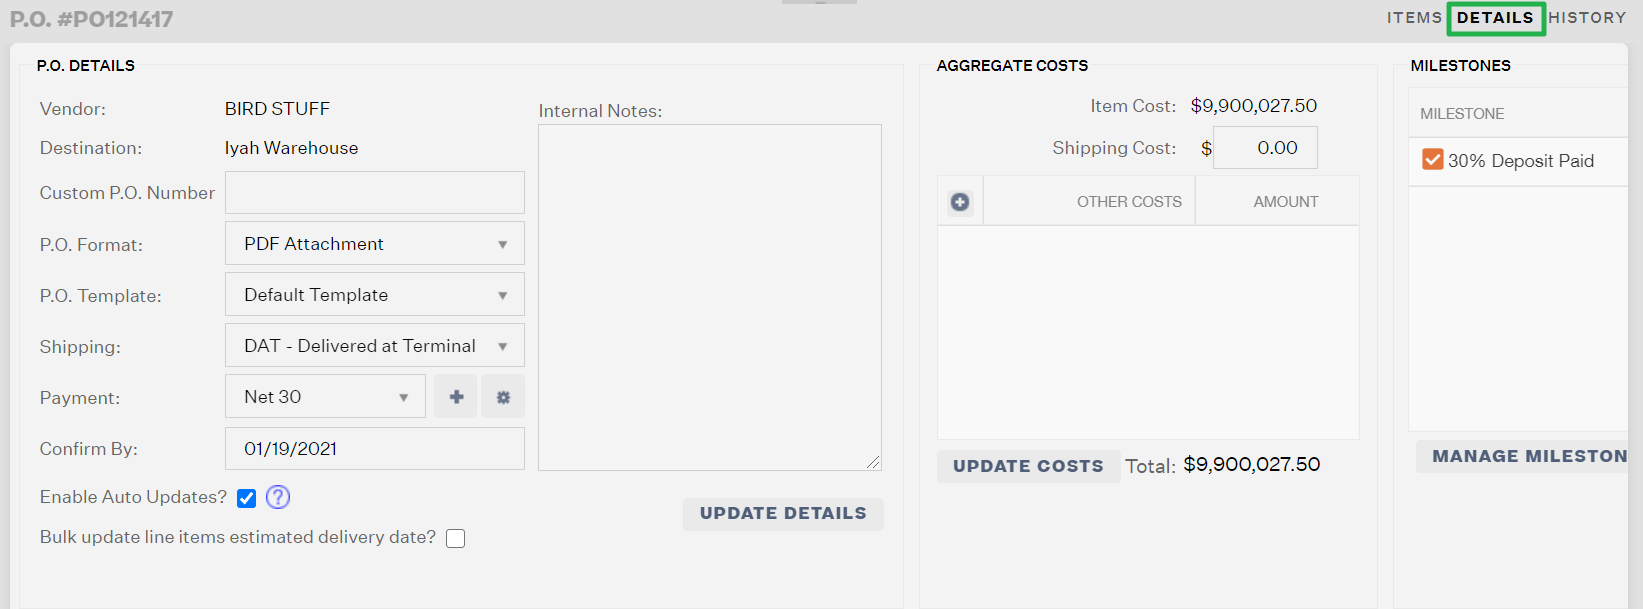
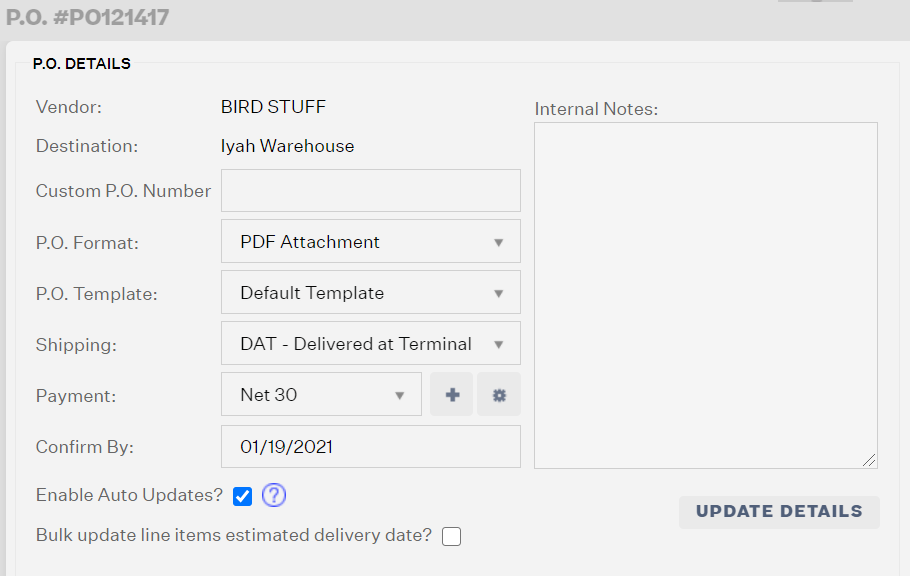
PO Details
This section allows you to update the Destination Warehouse, add a Custom PO Number, change the PO Format, change the PO Template, change the Shipping, change Payment Type, add Payment Type, configure Payment Types, update the Confirm by Date, and add Internal Notes.
Note: The Destination Warehouse can only be edited for a PO that has not had any items received yet. Once at least one unit has been received of an item on a PO, it can no longer have its Destination Warehouse edited.
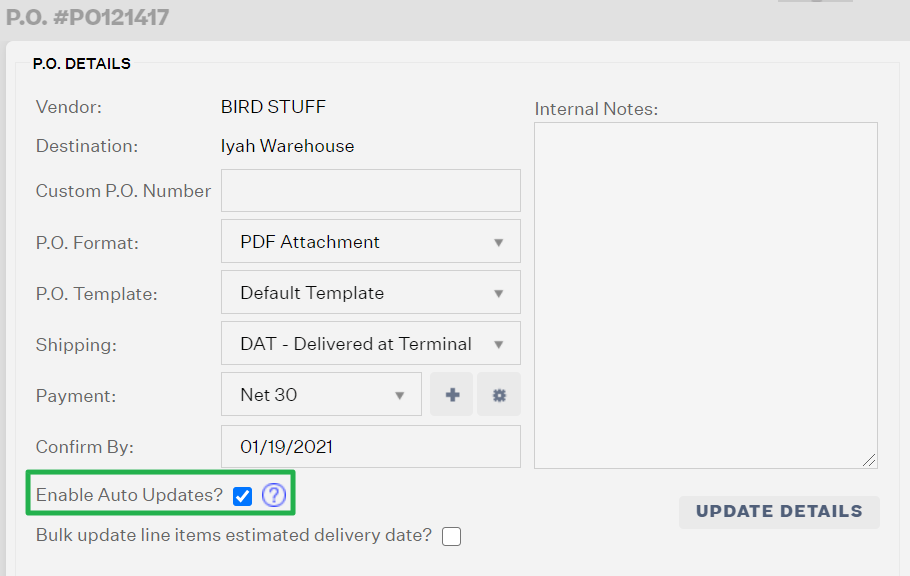
Checking the Enable Auto Updates option allows Extensiv Order Manager to automatically adjust the purchase order stock quantities based on sales velocity and other associated re-order rules that have been established per SKU.
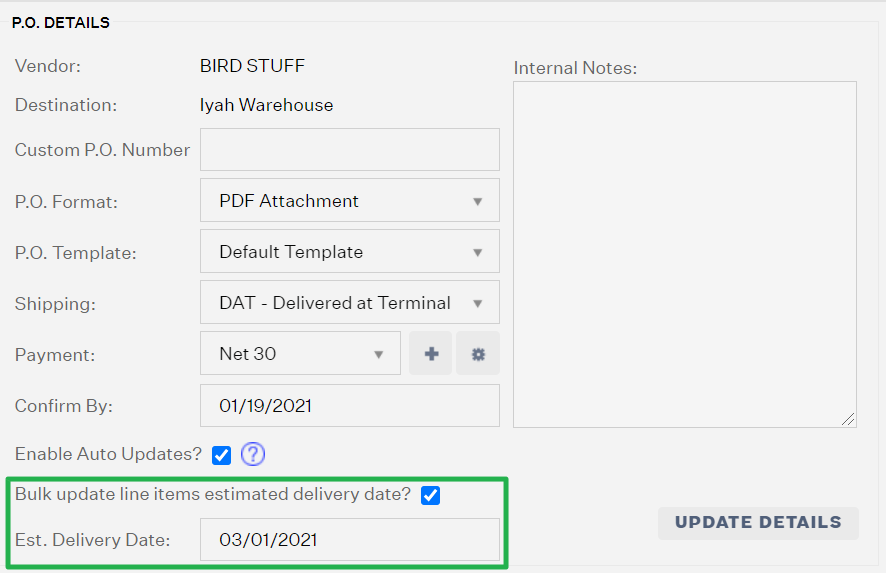
Checking the Bulk update line items estimated delivery date? option allows Extensiv Order Manager to update the estimated delivery date of all line items in the PO.
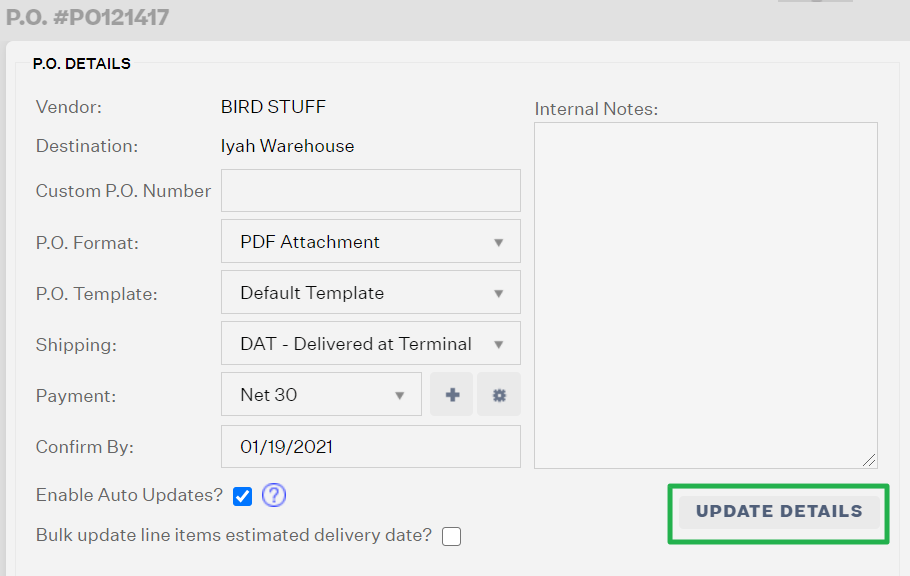
After editing the fields in the PO Details section, make sure to click on Update Details.
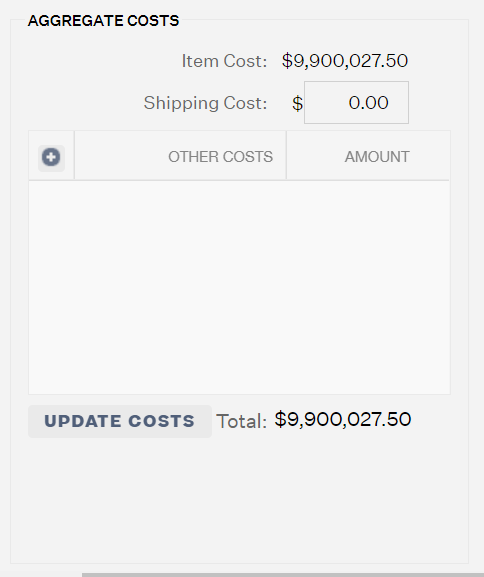
Aggregate Costs
This section allows you to update or add a Shipping Cost and add Other Costs.
NOTE
After adding or editing in this section, make sure to click on Update Costs.
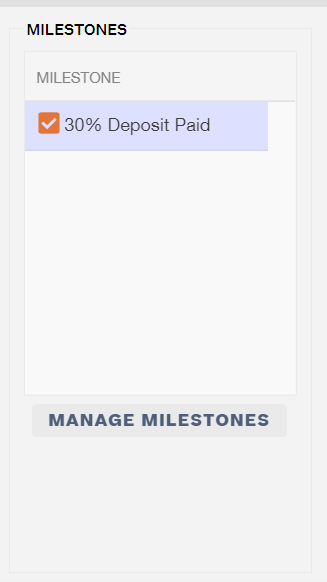
Milestones
This section allows you to manage milestones, add milestones, update the milestones, delete milestones or configure milestones.
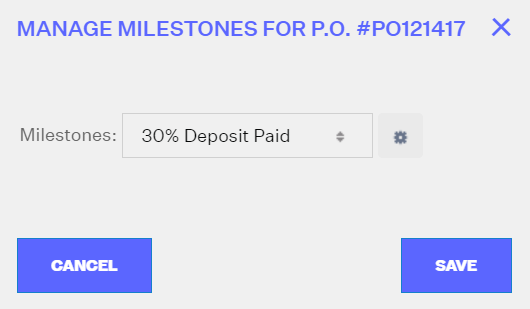
Manage Milestones
In here, you can either change to a different milestone by clicking on the dropdown, or configure milestones by clicking on the gear icon.
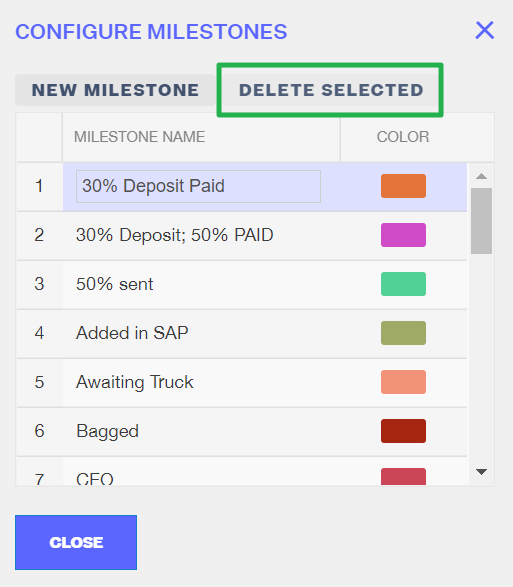
Configure Milestones
In here, you can either add a New Milestone or Delete Milestone.
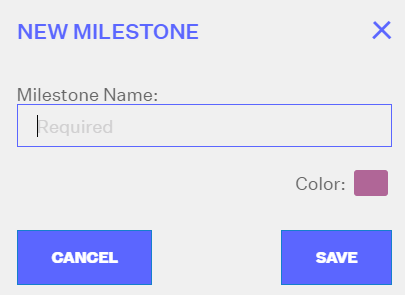
Adding a New Milestone
- Click on New Milestone
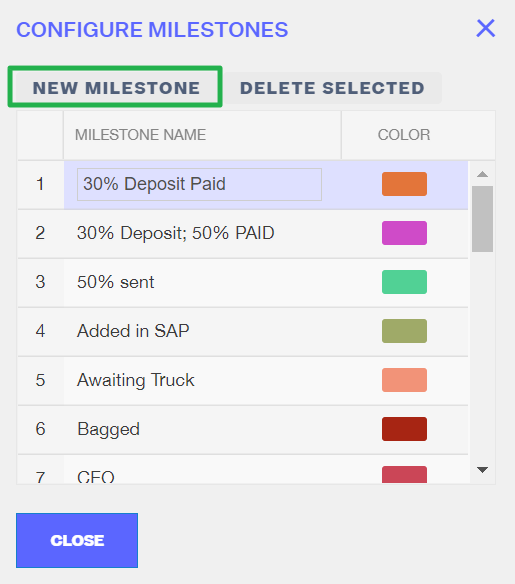
- Add a Milestone Name
- Customize the color for faster identification.
Deleting a Milestone
- Select the milestone that you want to delete.
- Click Delete Milestone.
Vendor Communication
This section allow you to add Notes to Vendor.
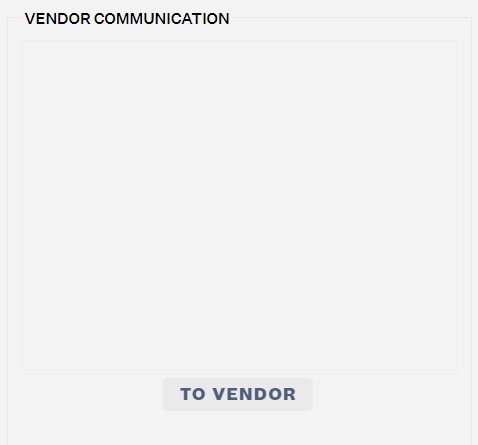
How to Add the Note to Vendor
- Click on To Vendor
- Add Message. Save.
