Setting Up ShipStation WMS
0.7 min read
|Supported functions:
- Order Send
- Cancel Order in WMS
- Shipment Confirmation Pickup - Detailed
Required parameters
- Shipstation username
- Shipstation password
Step-by-step guide
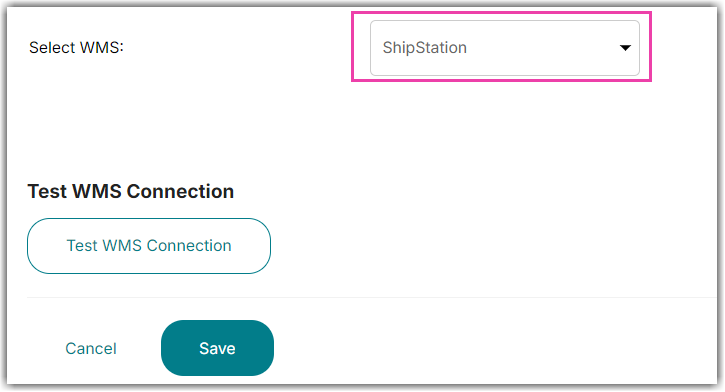
- Click WMS on the left navigation menu.
- Click Change WMS and select ShipStation from the dropdown list.

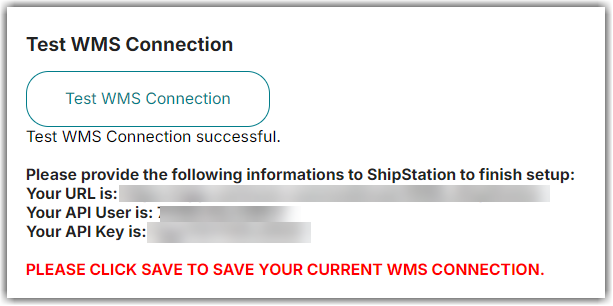
- Click the Test WMS Connection button and you will see your URL, API User, and API Key.
Warehouse Level Accounts
For Warehouse level accounts, the Test needs to be performed on the Merchant level. This allows for a separate ShipStation Store connection per merchant.
- Go to https://ss.shipstation.com/, and log in to your account.
- Go to Account Settings (wrench icon in upper right.
- Select Selling Channels > Store Setup from the menu on the left.
- Click + Connect a Store or Marketplace
- Select the Custom Store option (Enter Custom in the search box to find it more easily.
- Fill in fields as shown in the picture below:
Field |
Value |
URL to Custom XML Page |
|
Username |
API User (From Integration Manager WMS Setup Page) |
Password |
API Key (From Integration Manager WMS Setup Page) |
Awaiting Payment Statuses |
await_payment |
Awaiting Shipment Statuses |
new,at_wms |
Shipment Statuses |
shipped,confirmed |
Cancelled Status |
canceled |
On-Hold Statuses |
on_hold |
11. Click Save in Integration Management to save the connection.