Setting Up Rockpoint Logistics
0.8 min read
|Supported functions:
- Order Send
- Shipment Confirmation Pickup
- Inventory Sync Pickup
Required parameters
- FTP User
- FTP Password
- Client Tag
Preferred Extensiv Integration Manager Signup Link: https://app.cartrover.com/signup.php?r=rockpoint
Please contact Rockpoint if you do not have the required parameters listed above.
Step-by-step guide
If you did not sign up for Integration Manager using the Rockpoint Signup Page, you must first set up your WMS as Rockpoint Logistics.
- Launch Integration Management from Extensiv Hub.
- Click on WMS and click Change WMS next to the dropdown list. Notice that the Change WMS disappears after clicking it, allowing you to select from the list.
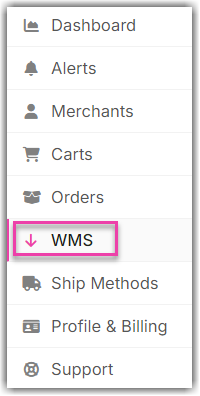
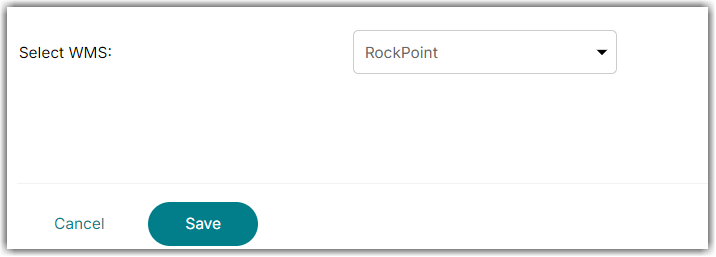
- Select Rockpoint from the dropdown list. Then, click Save.
- Go to Merchant > Edit Setup and enter the required fields under Rockpoint Settings. Please reach out to Rockpoint if you do not have this information

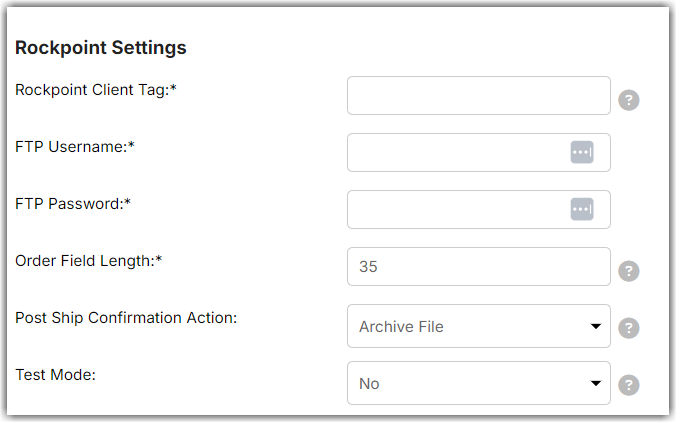
- Click OK to save.
Once setup, you can add as many shopping cart connections as you need and Integration Manager will automatically forward those orders to Rockpoint as well as send tracking information back to the shopping cart after your orders are shipped.
You must place your Rockpoint product code in the SKU field for each product in your shopping cart. This is the only way to know which product was purchased. It is also the only way to sync inventory from Rockpoint back to your shopping cart.