Setting Up NorthStar Automation
0.4 min read
|Integration Specs:
Supported functions:
- Order Send
- Shipment Confirmation Pickup
- Inventory Sync Pickup
Required parameters
- Warehouse Name
- Merchant FTP User
- Merchant FTP Password
- Merchant Customer Directory
Step-by-step guide
- Contact NorthStar Automation to to get your “Warehouse Name.”
- Launch Integration Management from Extensiv Hub
- Click on WMS and click Change WMS next to the dropdown list. Notice that the Change WMS disappears after clicking it, allowing you to select from the list.
- Select Northstar Automation from the list.
-
Enter the needed details. Then, click Test WMS Connection to confirm successful connection.
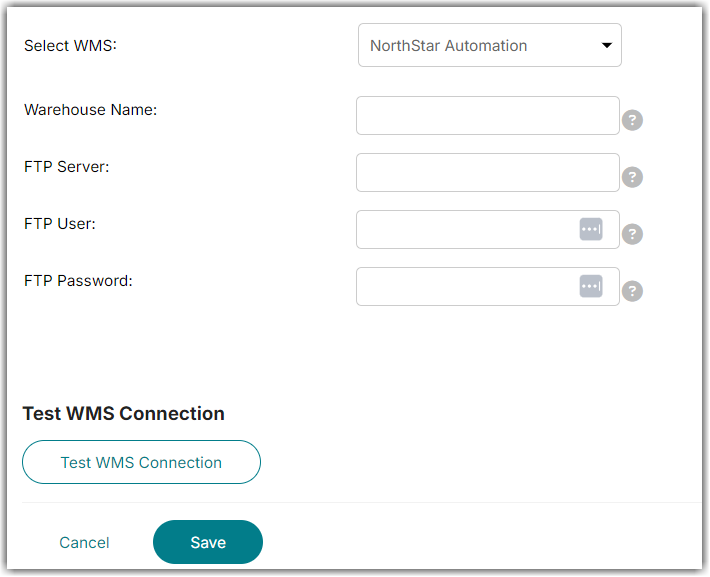
- Click Save.
- When setting up new merchants in Integration Manager, ask NorthStar to provide you with the following:
- FTP User
- FTP Password
- Directory
- Enter these into the Integration Manager Merchant settings (Merchants tab > select Merchant > Edit Setup)