-
Order Routing Management
-
Orders
- Apply Actions to Existing Orders in Bulk
- Custom Fields for Orders (Custom Columns)
- Duplicate or Clone an Order
- Customizing the organization of Columns in the Orders Module
- Resolving an Order in Missing Product Information Status
- Restoring a Canceled Order
- Cancel an Order
- Restore an On-Hold Order
- Creating a Manual Order
- Out of Stock Orders
- Creating a Manual Order - Single or Bulk
- Manually Mark an Order as Shipped - Individually or in Bulk
- Export an Order to a 3PL
- Validating Shipping Addresses
- Missing Order Info
- Importing Orders Via Spreadsheet (In Bulk)
- Resolving an Awaiting Payment Order
- Merging Orders in Network Manager
- Exporting Orders
- Filtering Orders
- Resolving Missing Product Info Orders
- How to Add an item to an existing order
- Missing Fulfillment Source
-
Products
- Exporting Products
- Associating and Creating a Listing SKU
- How to Manage Products
- Reassign a Listing SKU to Another Product
- Creating Products
- Creating Listing SKUs in Bulk (via Spreadsheet)
- How to Disable Inventory Updates for a Specific Sales Channel
- How does Extensiv Order Manager handle variations of the same product?
- Creating Products via Spreadsheet
- Adjusting Master SKUs
- Custom Bundle/Kit Export
- Inventory
-
Settings
-
Sales Channel
- How to Enable Out of Stock Control for eBay Sales Channels
- Shopify Locations
- Shopify Tags
- Enable or Disable Extensiv Network Manager Email Notifications to Your Customers
- Deactivating a Sales Channel
- Adding Shopify as a Sales Channel
- Viewing a Sales Channel's Edit History
- Adding Amazon as a Sales Channel
- Adding eBay as a Sales Channel
- Adding Walmart as a Sales Channel
- Editing Sales Channels
- Adding a Manual Sales Channel
- How to Exclude a Warehouse From Pushing Inventory to a Sales Channel
- Adding Sales Channels
- Reactivating Sales Channels
- Webhooks
-
Warehouses
- Setting Up a Warehouse's International Rank
- Set Up Field Mappings of Import/Export Files
- FTP Inventory Import for a 3PL
- Setting Up Domestic Backup Warehouses
- Creating and Configuring Warehouses in Extensiv Network Manager
- Deactivating a Warehouse in Extensiv Network Manager
- Updating the Address/Return Address for Your Warehouse
- Enabling Use Component Inventory Setting for Bundles and Kits
- Orderbots
-
Sales Channel
-
Orders
Custom Bundle/Kit Export
In order to get a data report of all your bundles and respective components broken down into a multi-line file, as opposed to the standard product export file, you will need to leverage the Custom Bundle/Kit Export.
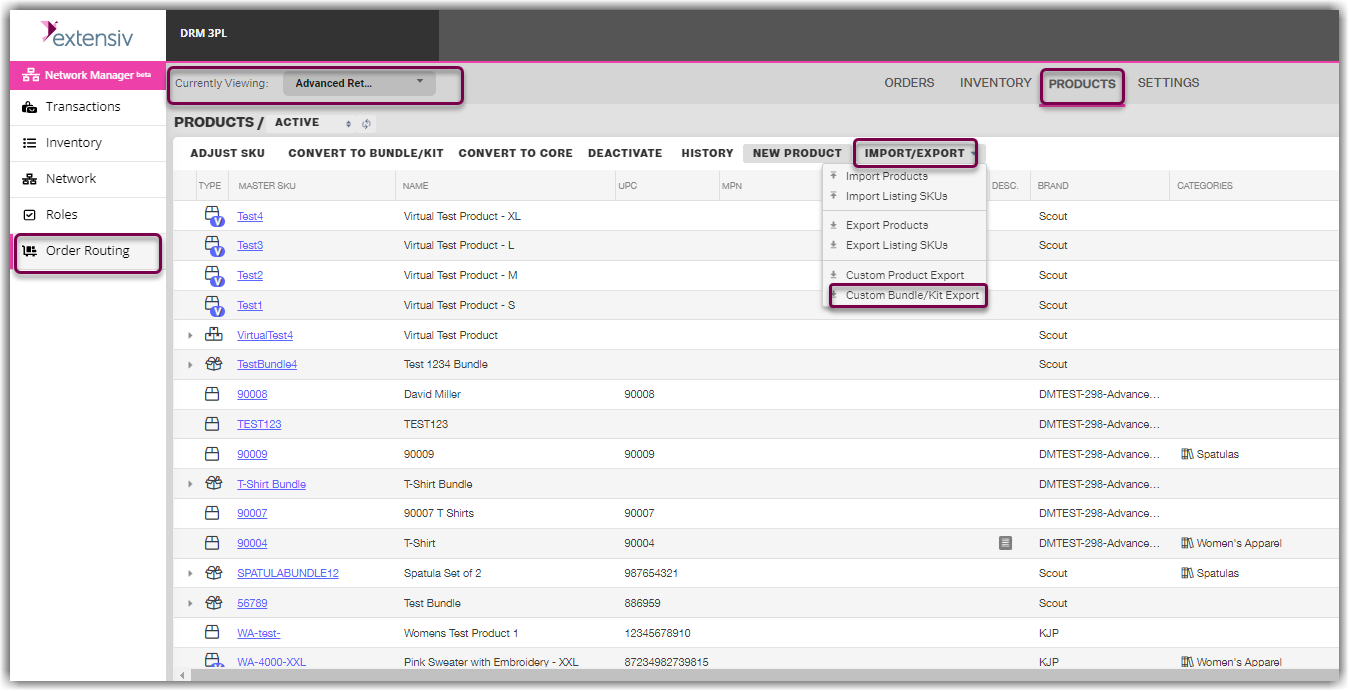
- Navigate to the Order Routing page and confirm the company by clicking the dropdown next to Currently Viewing field.
- Go into Products module and Click Import/Export.
- Click Custom Bundle/Kit Export.
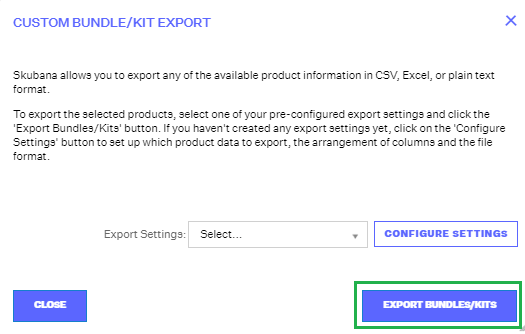
- From here, you can either skip to Step 5 if you have already configured your export settings, or if you haven’t configured them yet, click Configure Settings.
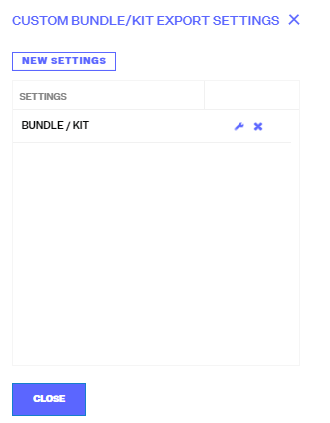
- You can either edit an existing setting from this window by clicking on the wrench icon or by clicking the New Settings button.
From this window, you should indicate the data you wish to export.
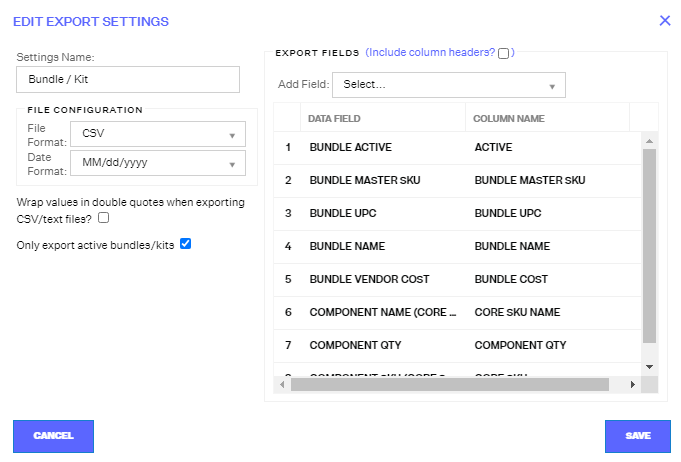
Data Field Options
Basic fields we suggest you add to get the best version of this report:
- Bundle Master SKU
- Bundle Name
- Component SKU (Core SKU)
- Component Name (Core SKU Name)
- Component Qty
Additional fields from the existing bundle export only using the bundle data:
- Bundle Description
- Bundle UPC
- Bundle Image
- Bundle Brand
- Bundle Category
- Bundle Label
- Bundle M.A.P
- Bundle Shipping Cost
- Bundle Pounds
- Bundle Ounces
- Bundle Height (in)
- Bundle Width (in)
- Bundle Length (in)
- Bundle Allow Backorders
- Bundle Hazmat
- Bundle Ships in own box
- Bundle Active
- Bundle Vendor Cost
- Bundle With Barcode
- Bundle Buyer (E-mail)
- Bundle MPN
- Bundle Gift Card
- Bundle Digital
Once you have set up your data fields and correlating column names, you can also configure the file type you would like to export the data into. Additionally, you can select the date format you’d like any date data to export as.
When your set-up is complete, simply click Save.
5. Once you have your export settings configured, simply select them from the Export Settings drop-down menu.
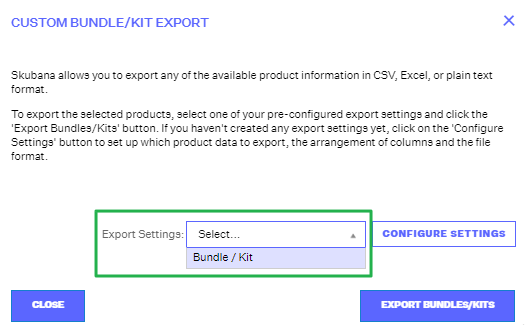
6. Click Export Bundles/Kits and the file will be emailed to the email you are logged in with.