-
Shipping Operations
- Order Creation
- Order Management
-
Shipping Setups
- Configuring a Drop Ship Address
- Managing Ship-to Contacts
- Managing Retailers
- Importing Ship-to Contacts
- Managing Ship Method Mappings
- Managing 3rd-Party-Billing Contacts
- Using a Flat File Carrier Integration
- Configuring Zebra Browser Print
- Connecting Multiple Accounts for the Same Carrier
- Managing Shipping Carriers
- Configuring Fulfillment Invoicing
- Managing Carrier Accounts
- Understanding Carrier Account Logic
- Configuring Small Parcel Settings
- Using Address Validation
- Connecting Carriers to Providers
- Understanding the Parcel API
- Shipping Hazardous Materials
-
Small Parcel Carriers
- Shipping with FedEx One Rate®
- Shipping with UPS
- Shipping with UPS Mail Innovations®
- Shipping with DHL eCommerce
- Shipping in Small Parcel Suite
- Shipping with Amazon Buy
- Shipping with APC
- Shipping with DHL Express (US)
- Shipping with USPS (Endicia)
- Shipping with FedEx
- Shipping with FirstMile
- Shipping with OnTrac
- Shipping with USPS (Stamps.com)
- Shipping with Globegistics
- Shipping with RR Donnelley
- Shipping with SEKO Ecommerce
- Shipping with Australia Post
- Shipping with Canada Post
- Shipping with Canpar
- Shipping with Purolator
- Shipping with DHL Express (AU)
- Shipping with Landmark
- Shipping with PARCLL
- Shipping with ePost Global
- Shipping with USPS (BUKU Ship)
- Shipping with USPS (Pitney Bowes Expedited)
- Shipping with Pitney Bowes Cross-Border Delivery
- Shipping with Stallion Express
- Shipping with Pitney Bowes Standard
- Shipping with Sendle
- Shipping with Passport
- Shipping with Tusk Logistics
- Shipping With Flexport
- Connecting Small Parcel to UPS
- Packing Basics
-
Order Processing
- Voiding Shipping Labels
- Creating End of Day Requests (Manifesting)
- Using High Volume Processing (HVP) with SmartParcel
- Navigating the Small Parcel Homepage
- Shipping in the Small Parcel Space
- Packing in the Small Parcel Space
- Printing Combo Labels
- Printing Return Labels
- Troubleshooting Blank Shipping Labels
- Billing Best Practices for Shipping
- International Shipping
Importing Orders
If your customer is providing a spreadsheet or flat file of all orders that need to be shipped, those orders can be imported into 3PL Warehouse Manager. Click here to access all 3PL Warehouse Manager import templates.
Before you can begin importing orders, you must have the following completed:
- Have a user role that includes the following permission: Orders Module > Manage Order Imports > Import Orders
- Order import preferences defined under Orders > Order Import Preferences (requires you to have the following permission assigned to your user role: Orders Module > Manage Order Imports > Import Preferences)
- Spreadsheet from your customer filled with accurate data and formatting
This article reviews how to import an order into the system. For FAQ and general troubleshooting, please see Import Template FAQs.
 Imported orders are automatically assigned a Complete status. If you want orders to instead be in an Open status once imported, you can utilize the 'IncompleteStatus' column in the flex header template and set the value to True.
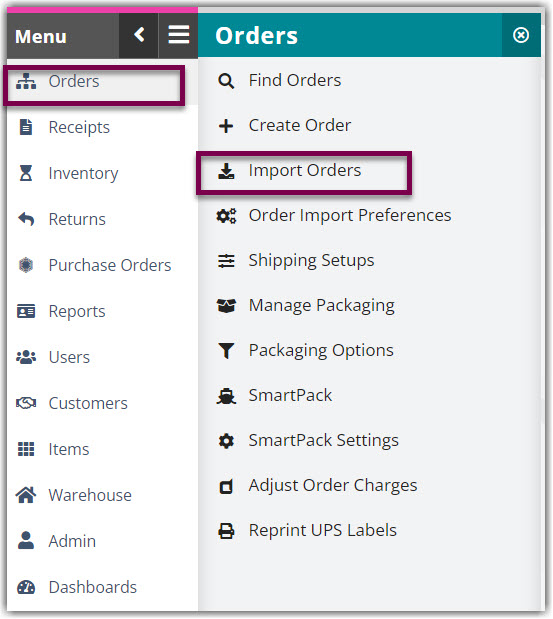
- Navigate to Orders > Import Orders.
- From the drop-down menus, select the appropriate Customer and Warehouse.
- To inspect the order(s) before they are imported, click the selection box next to View list of orders after file validation.

- Click Select File.
- Double-click the file you want to import. You can check the status of the import using the gear icon in the top-right corner of the page.

- If you opted to view the data in Step 3, verify for accuracy, then click Import.
Once imported, you can find the order in the Find Orders grid in a Complete status. Thus, if you need to make any changes to the order, the modifications must be completed by a Warehouse User.