Creating a Manual Order - Single or Bulk
1.7 min read
|Within Extensiv Network Manager, you are able to create a manual order to account for any orders that come from outside your integrated sales channels.
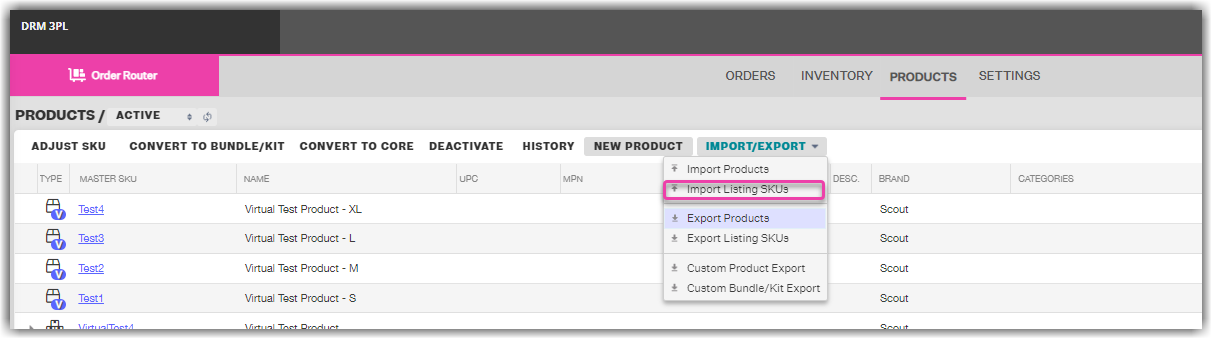
To do this, you will need to add listing SKUs for your manual channel to your Master SKUs in your product catalog. Go to your products module and click on the “Import/Export” button on the top menu bar. Select “Import listing SKUs” from the dropdown.
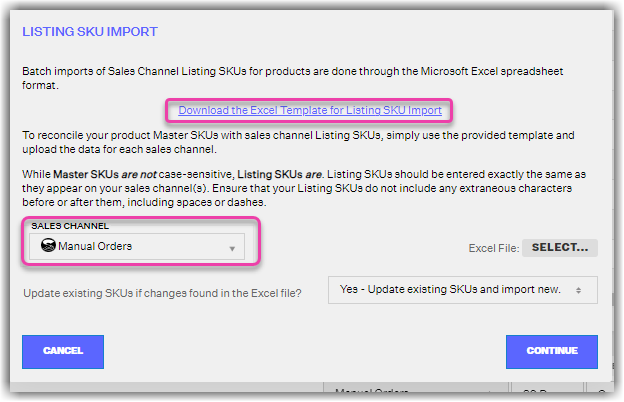
This will open a new window. Download the Excel Template for listing SKU import. Input your Master SKUs and Listing SKUs into the appropriate columns. Since this is not an actual external sales channel, you can make the listing SKUs whatever you’d like – the easiest solution would be to just copy and paste your Master SKUs. Select “Manual Orders” from the sales channel dropdown and import the excel file back into Extensiv Network Manager.
Once you have attached your manual channel listing SKUs to your Master SKUs you can now create a manual order.
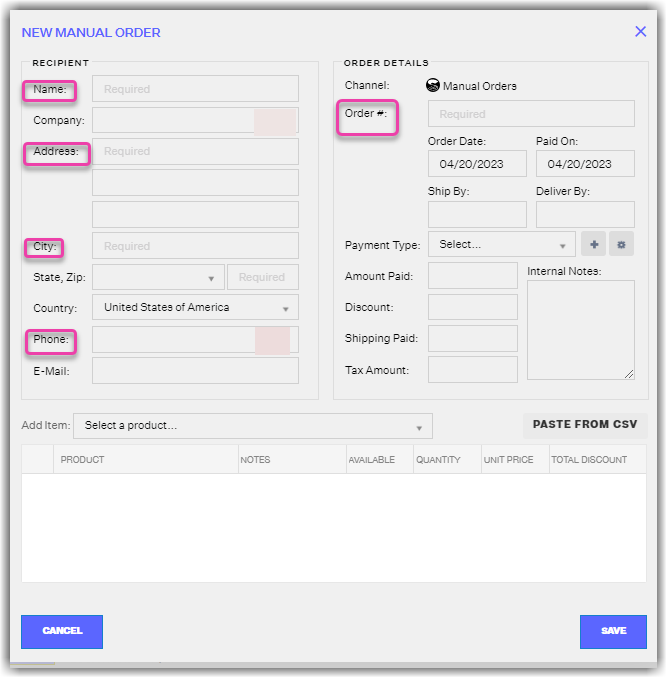
To do this, go to your Orders Module and click New Order. Select Manual Orders from the dropdown.
A new window will open where you can fill in the details of your manual order. These fields are required:
- Customer Name
- Address
- City, State, Zip
- Phone Number
- Order Number
You can search for items and add them to the order in the dropdown under “add item”. Click save and a new manual order will be created.
Note: If you see an automatically populated order number, this is likely due to your manual channel settings to set a prefix and order number for this channel.
You can also import manual orders in bulk. Click Import/Export on the top menu bar and select Import Orders from the dropdown. This will open up a new window where can upload your manual order import file.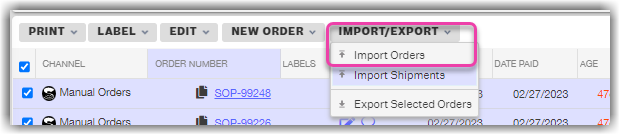
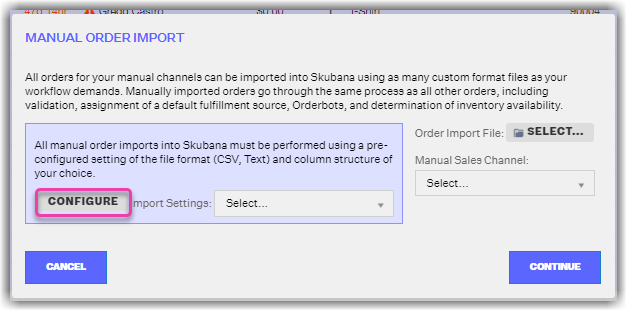
You must configure your import settings with the necessary fields first before uploading the file. You can create as many different import settings and customer format files as you need for each manual import.
To configure new settings, click Configure on the Manual Order Import window:
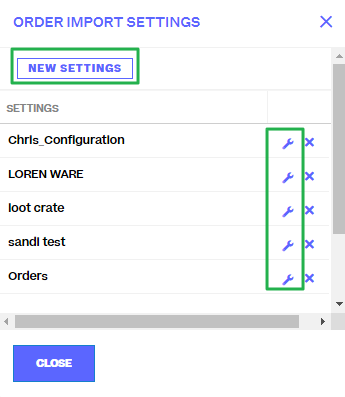
This will open a new window that contains all your pre-configured settings. To edit the settings you have already created, click the wrench icon next to the settings. To create new settings, click New Settings.
You will be prompted with a new window titled New Import Settings. Give your new settings a name and select the appropriate file configuration options.
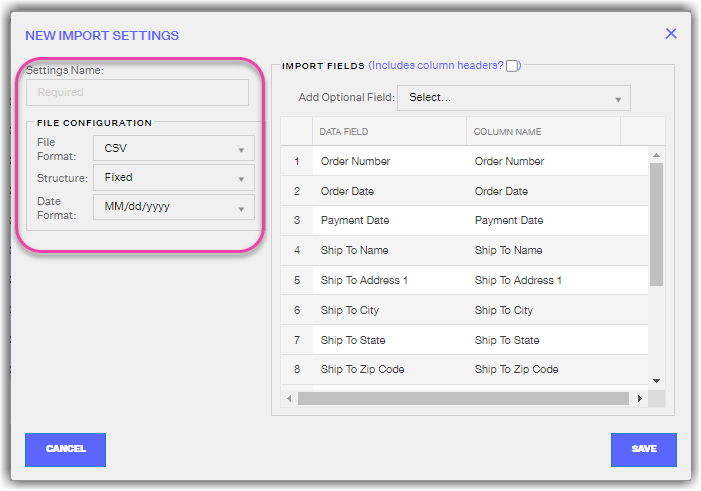
On the right-hand side of this window, you will be able to select which import fields you’d like to include for this import file. Select the data field from the drop-down menu and input the corresponding column name on the right. The column name must match exactly what you have titled in your import file. Click Save once completed.
This will bring you back to the original Manual Order Import window. Select the appropriate import settings you just created from the Import Settings dropdown, select the correct manual sales channel (if you have more than one), and upload your file.