-
Settings
-
Sales Channel
- How to Enable Out of Stock Control for eBay Sales Channels
- Shopify Locations
- Shopify Tags
- Enable or Disable Extensiv Network Manager Email Notifications to Your Customers
- Deactivating a Sales Channel
- Adding Shopify as a Sales Channel
- Viewing a Sales Channel's Edit History
- Adding Amazon as a Sales Channel
- Adding eBay as a Sales Channel
- Adding Walmart as a Sales Channel
- Editing Sales Channels
- Adding a Manual Sales Channel
- How to Exclude a Warehouse From Pushing Inventory to a Sales Channel
- Adding Sales Channels
- Reactivating Sales Channels
- Webhooks
-
Warehouses
- Setting Up a Warehouse's International Rank
- Set Up Field Mappings of Import/Export Files
- FTP Inventory Import for a 3PL
- Setting Up Domestic Backup Warehouses
- Creating and Configuring Warehouses in Extensiv Network Manager
- Deactivating a Warehouse in Extensiv Network Manager
- Updating the Address/Return Address for Your Warehouse
- Enabling Use Component Inventory Setting for Bundles and Kits
- Orderbots
-
Sales Channel
Adding Walmart as a Sales Channel
Overview
This article provides a step-by-step guide on how to add Walmart as a sales channel in Extensiv Network Manager.
How-to Guide
Extensiv Network Manager offers out-of-the-box integration with various sales channels.
For general instructions on adding a sales channel to Network Manager, see Adding Sales Channels.
We do not support Walmart Canada.
Before you can set up a new Walmart channel in Network Manager, you'll need to obtain your Client ID (formerly called "Consumer ID") and Client Secret (formerly called "Private Key") from Walmart Developer Portal. Instructions on how to access these are below.
- Go to Walmart's Developer Portal: https://developer.walmart.com/
- Make sure the page is set to the US flag in the top right corner.

- Click My Account → Marketplace and log into your store.
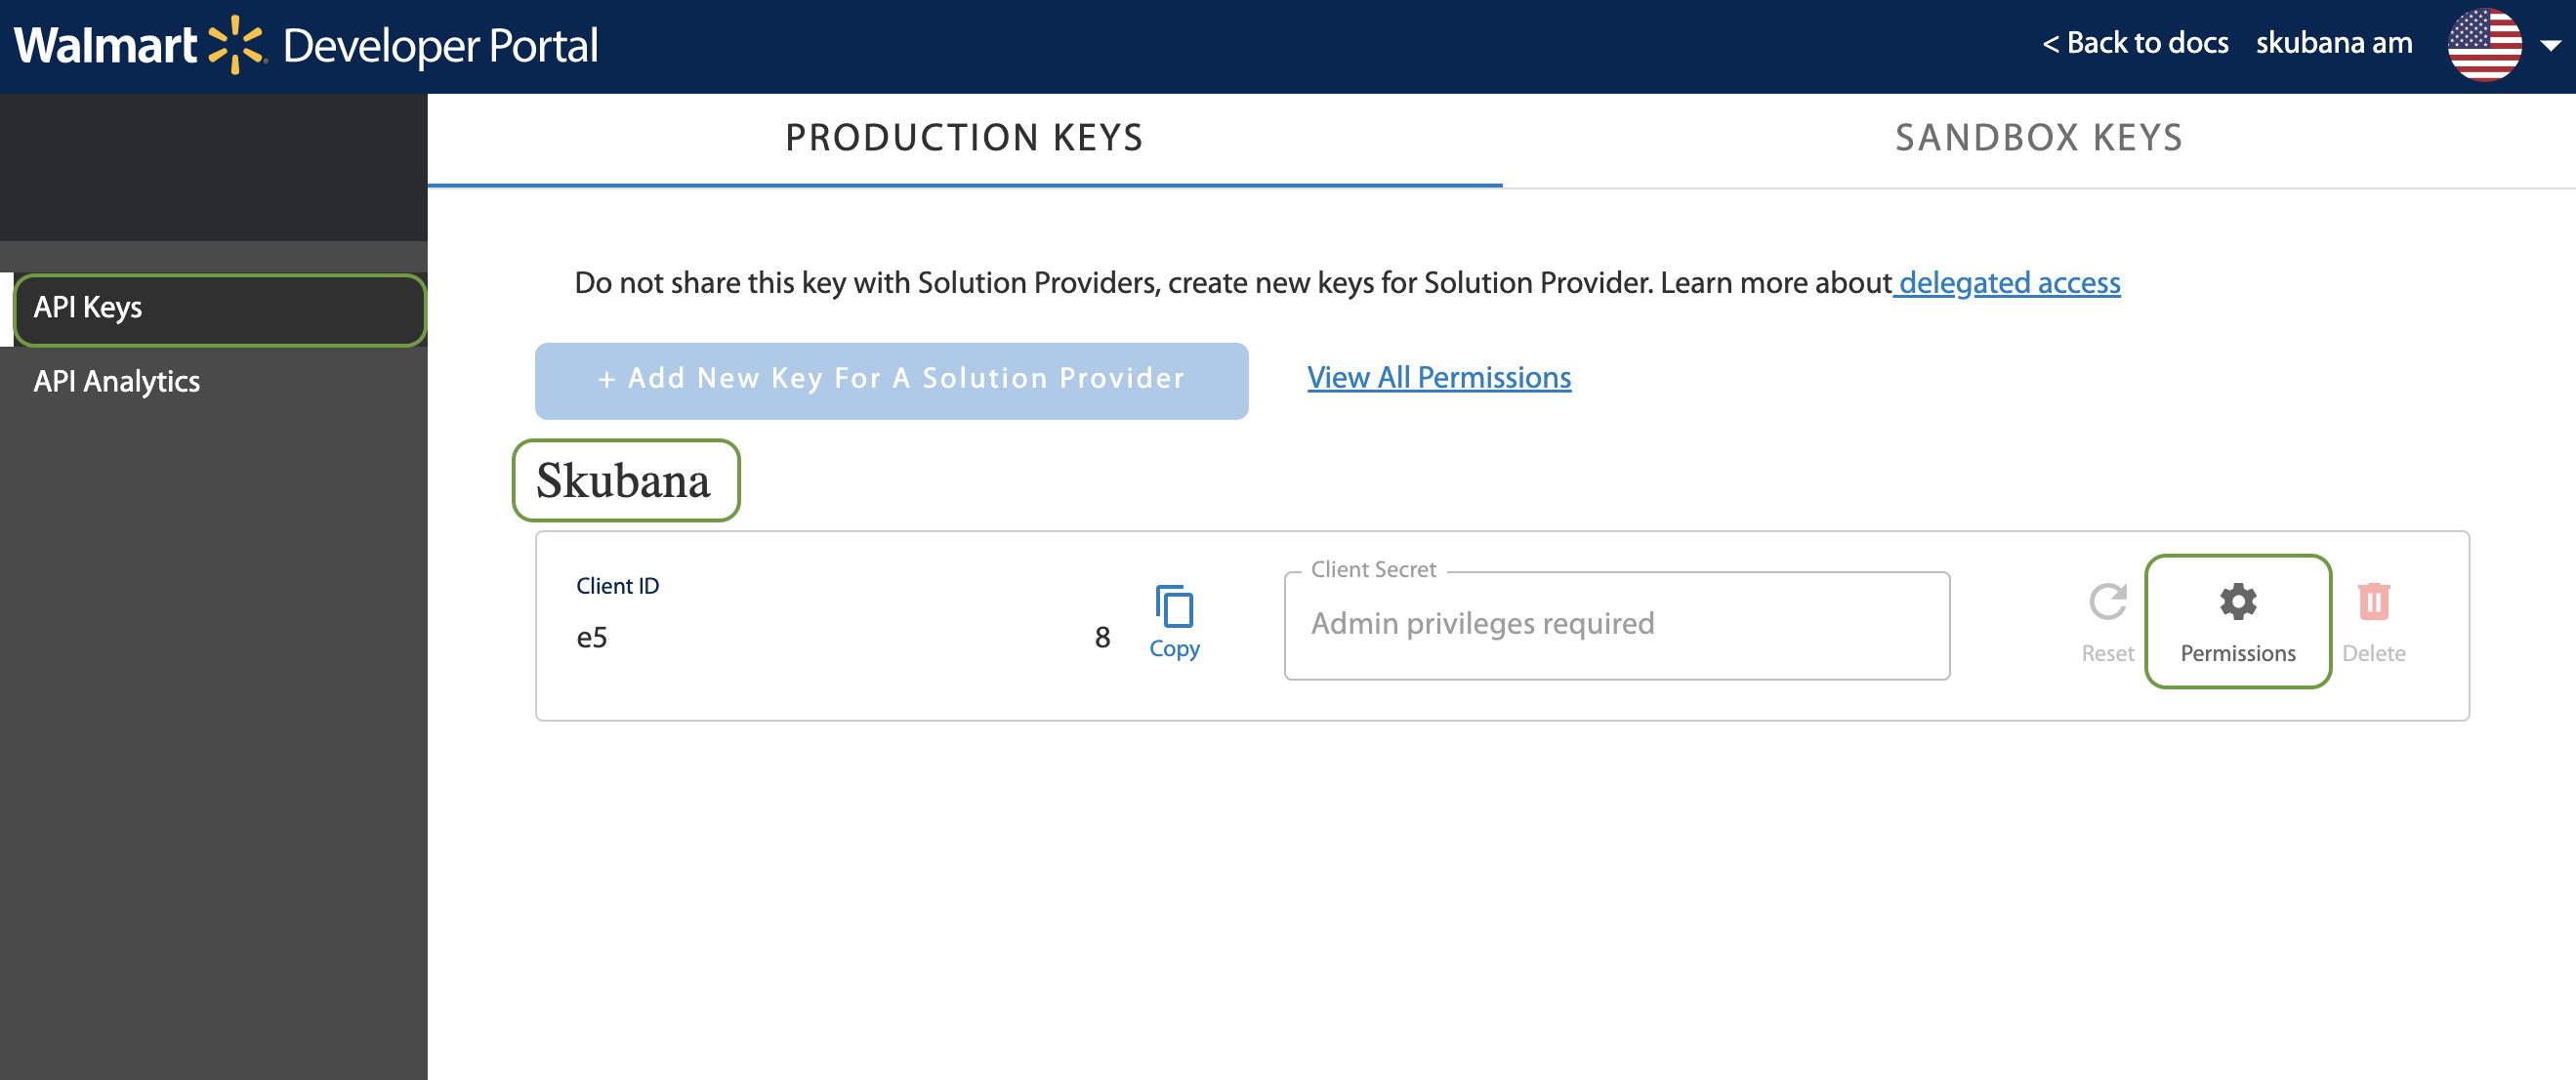
- Click + Add New Key For A Solution Provider first in the Production Keys tab. Choose Order Manager from the list and choose Add Provider. Then proceed to copy the Client ID value & newly generated Client Secret. Your login will need to have privileges for this as well.
Note: If you are or will be utilizing Walmart Fulfillment Services in the future, you'll also need to ensure that Network Manager's Permissions are edited. Click the Permissions icon and set "Reports" & "Fulfillment" both to either Full Access or View Only, then click Submit.
- Back in Network Manager, navigate to Order Routing. Next, go to the Settings Module, then the Sales Channels tab, and click New Sales Channel. In the New Sales Channel window, select Walmart from among the various channels.
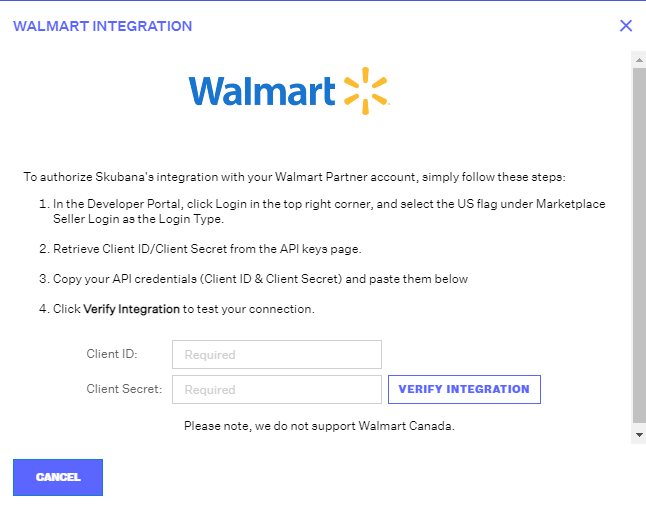
- In the Walmart Integration window, enter your Client ID and Client Secret, then click Verify Integration to test your connection.

- Once a message that the integration has been verified appears, click Finish to close the Walmart Integration window. On the Sales Channel page, you should see Walmart added to your sales channels.
At this time, the Walmart integration does not have any webhook options.
 | Help Center
