Managing Classifications
1.3 min read
|A classification is a labeling mechanism used to group similar items. The Manage Classifications page allows you to create a hierarchy of classifications for items that belong in distinct categories. Note that when selecting an item's classification, the system does not differentiate between parent and child classifications, so the hierarchy is only relevant for referencing on this page and for custom report purposes.
This article reviews how to create and manage item classifications.
To create and manage classifications, the Item Classification feature must be enabled for your database under Admin > Settings. Once enabled, you must also have the following permission assigned to your user role: Customer Module > Customer Items > Manage Item Categories.
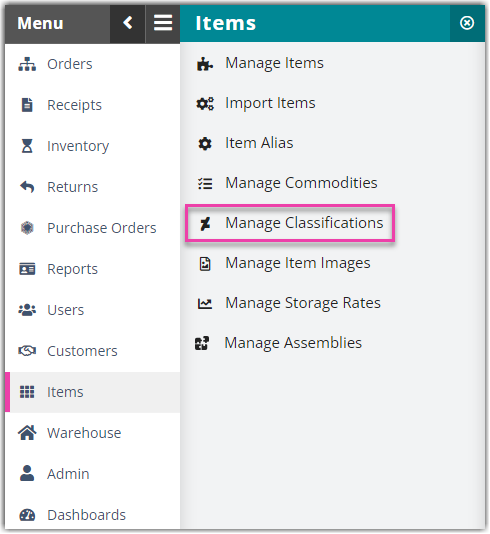
1.Navigate to Items > Manage Classifications in 3PL Warehouse Manager.
2. To create a new parent classification, leave the 'Parent' drop-down blank.
3. Enter the parent 'Title' and 'Description'.
4. Click Save, then click OK to close the confirmation dialog.

5. To create a child classification, select the relevant parent classification from the drop-down menu.
6. Enter the child 'Title' and 'Description'.
7. Click Save, then click OK to close the confirmation dialog.

8. Under Update, you can update existing classifications.
9. Select the 'Classification to update' from the drop-down menu.
10. Specify a New Parent, New Title, and/or New Description for the classification.
11. Click Update to save your changes, then click OK to close the confirmation dialog.

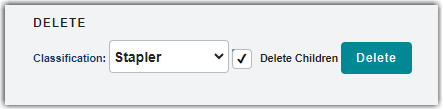
12. Under Delete, you can delete existing classifications.
13. Select the classification you wish to delete from the drop-down menu.
14. Select whether you wish to Delete Children from the parent classification being deleted.
15. Click Delete, then click OK to close the confirmation dialog.
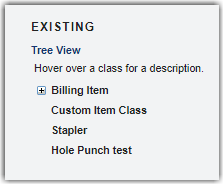
16. Under Existing, you can view existing classifications. Hover over a class to read the description of the classification, or click the plus button next to the parent classification to view the corresponding child classifications.
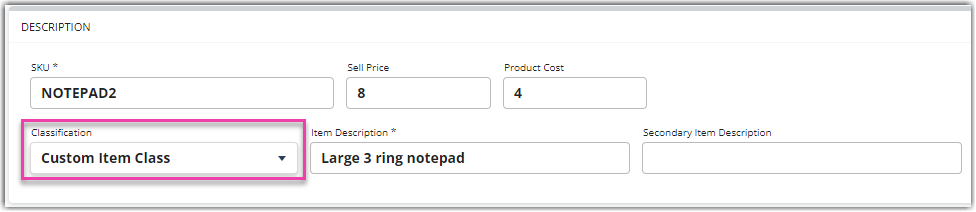
17. Once you create a classification, you can assign it to an item under Items > Manage Items. Select an item, click Edit, locate the Description sub-section, then select a Classification from the associated drop-down menu.
Once an item is assigned a classification, you can configure automatic receiving and shipping billing scripts to charge by classification or request a custom report to fit your classification reporting needs.