Connecting Printers to SmartScan
0.9 min read
|If you are running SmartScan on Zebra Enterprise Browser or have Browser Print configured on a computer that uses the same network as your printer and SmartScan device, you can print movable unit (MU) labels directly from your device to a nearby Zebra or ZPL printer.
This article reviews how to set up a printer in SmartScan so you can print MU labels directly from your SmartScan device.
- Log in to SmartScan.
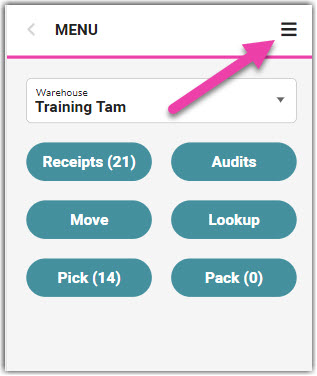
- Tap the hamburger icon in the top-right of the application, then select Settings > Print.
- From the 'Connection Type' drop-down menu, select how you're connecting to the printer's network. Once selected, SmartScan searches for available printers.
- Tap the 'Printer' drop-down menu, then select the printer you'd like to use—you can identify each printer by its unique serial number and IP address. Once selected, the printer's serial number populates in the field, and this printer remains a permanent option within the drop-down list.
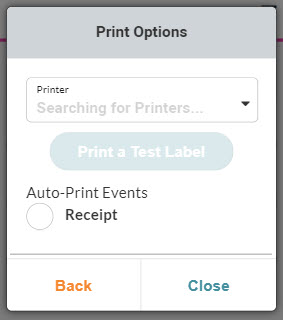
- Optional: To ensure that you are connected to the correct printer and labels will print as expected, tap Print a Test Label.
- If you want system-assigned MU labels to print automatically during the receiving process, tap Receipt under 'Auto-Print Events.'
- Tap Close to return to the SmartScan homepage. The selected print settings will apply each time you sign in to your SmartScan account.
Once you've connected your SmartScan device to a printer, you can print MU labels from your handheld device.
- For further guidelines, please see Printing MU Labels for Receipts.
- If you leverage freight shipping and want to print MU labels during the shipping process, see Picking for Load-Out instead.