-
Order Destinations
-
3PL Central
- Extensiv 3PL Warehouse Manager Error Code: ValueNotSupported. Not assigned to Customer X
- Extensiv 3PL Warehouse Manager Overview
- Setting Up Extensiv 3PL Warehouse Manager
- Setting Up International Warehouse Group
- Setting Up Kelly Global Logistics
- Extensiv 3PL Warehouse Manager API Permissions
- Extensiv 3PL Warehouse Manager Alerts
- Amazon MCF
- Amware
- Anchanto
- ApparelMagic OMS
- Bergen Logistics
- ChannelAdvisor
- Cin7
- CIO Direct
- Connected Business
- Core Warehouse
- CoreCommerce OMS
- CSV Warehouse
- Dear OMS
- Deposco
- DesktopShipper
- DSV
- EasyPost Fulfillment
- Enlinx
- Feature List
- Fishbowl
- Flowspace
- GoCadence
- HighJump
- Infoplus Commerce
- Katana MRP
- Landmark Global
- LogiView
- Logiwa
-
Moulton Logistics
- NetSuite OMS
- Northstar Automation
- Nucleus
- OfficeDepot
- Omni Logistics
- Orderbot
- PowerHouse
- Propago
- Rakuten Super Logistics
- Red Stag Fulfillment
- RF Pathways
- Rockpoint Logistics
- Ruby Has
- Ship Central
- ShipBob
- Shipedge
- ShipHero
- Shippo
- Ship-Right Solutions
- ShipStation
- Shopping Cart Fulfillment
-
Skubana OMS
- Extensiv Order Manager OMS Overview
- Setting Up Extensiv Order Manager OMS
- Extensiv Order Manager OMS Settings Order
- Extensiv Order Manager OMS - Cannot acknowledge inventory for non-manual sales channels
- Extensiv Order Manager OMS Inventory Not Syncing (Sync Per Order Manager Sales Channel Mode)
- How to enable inventory sync from Extensiv Order Manager OMS
- SmartTurn
- SnapFulfil
- SphereWMS
- topShelf
- Unleashed
- VeraCore
- Vin eRetail
- Wolin Design Group
- Zoho Inventory
-
3PL Central
Setting Up SmartTurn
Supported functions
- Order Download
- Inventory Sync (Multi Warehouse Inventory)
- Shipment Confirmation
Step-by-step guide
- Launch Integration Management from Extensiv Hub.
-
Click on WMS and click Change WMS next to the dropdown list. Notice that the Change WMS disappears after clicking it, allowing you to select from the list.
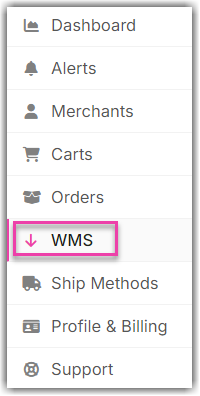
- Select SmartTurn from the dropdown list. If you mistakenly select the wrong option, click on WMS again to make Change WMS reappear and select the correct one.
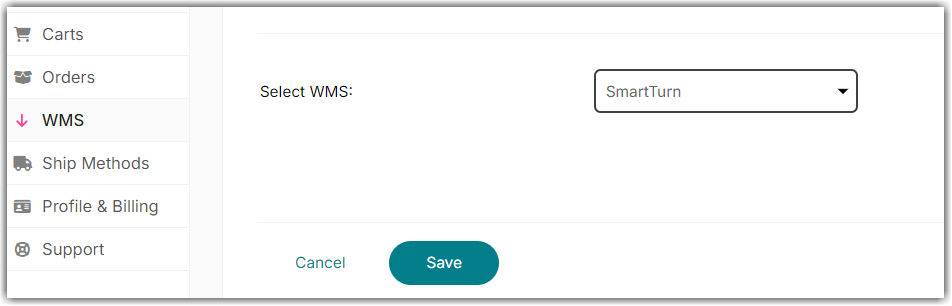
- Click Save.
- Navigate to Merchants tab and click Edit Setup.

- Enter the API username and password.
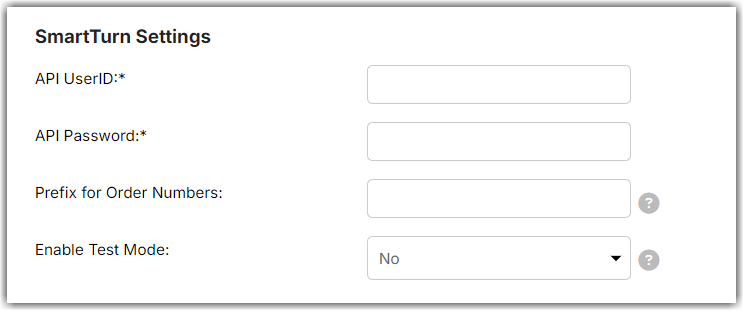
Note: If you want to test this integration through Sandbox, change the ‘Enable Test Mode’ field to Yes. - Click Test WMS Connection to confirm successful connection. Then, click OK.
- Once the connection is successful, navigate to Carts and scroll to General Inventory Options, enter the SmartTurn OwnerName in Business Affiliates name field, OwnerCode in Business affiliates code, and set send shipped orders notification to "YES" under cart level.
